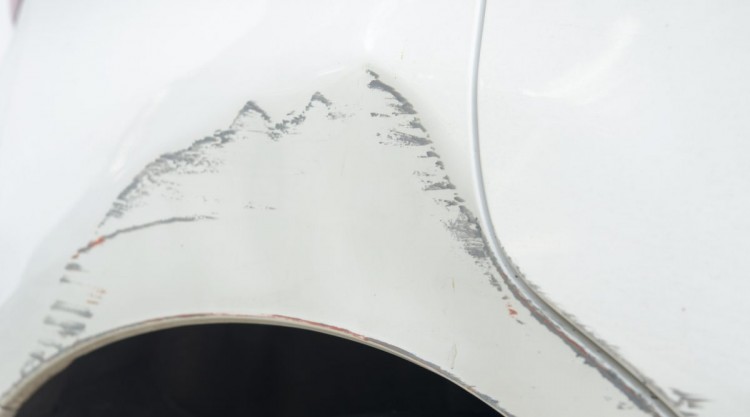
Paint transfer occurs when two cars collide, and the paint from one transfers to the other and bonds with the surface of the second car.
No matter how well you look after your car, paint scuffs are a common occurrence. They can happen in a variety of ways, whether you’re parking at the grocery store, inching down a narrow street, or just minding your own business and some less considerate driver bumps into you.
The good news is that, while frustrating, this is not a complicated issue to deal with. As we’ll reveal and demonstrate in the following guide, all you need to get rid of those unsightly scuffs on your car’s paint job are the right products and a little bit of elbow grease.
In this article, we go over the different removal methods, guiding you step by step. We also detail the equipment you need for the job, some of which you might already have at home.
Contents (Jump to Topic)
Removing Paint Transfer From Your Car: Step-by-Step Instructions
What You Need:
- Dish soap.
- Microfiber towel
- Paper towels
- Sandpaper (120-grit will work well).
- Used newspapers.
- Masking tape.
- Car primer.
- Grease and wax remover.
- Car clear coat.
- Car paint (an exact match to your car’s color.)
Step-by-Step Process:
- Clean well.
- Rinse thoroughly.
- Dry completely.
- Check the damage.
- Sand the area.
- Protect your car.
- Use primer.
- Apply grease and wax remover.
- Use spray paint.
- Apply clear coat.
Step 1. Clean Well
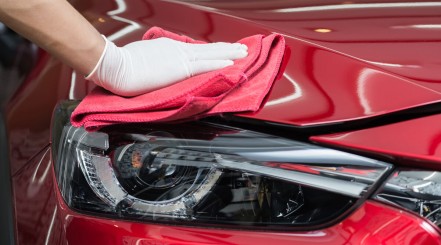
Clean away any dust, dirt or residue from the affected area using proper car wash soap and a microfiber towel or cloth.
Step 2. Rinse Thoroughly
Rinse your vehicle thoroughly to remove all soap. Make sure it is rinsed perfectly clean and feels not at all soapy to the touch.
Step 3. Dry Completely
Dry the area completely with a microfiber towel made for cars.
Step 4. Check Damage
Now the paintwork is clean and free from any residue, you should be able to inspect the damage. If you can fit your nail into the scratches, consider it to be deep.
Step 5. Sand the Area
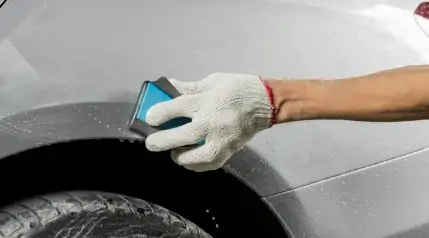
Use the sandpaper to even out the scratches. Polish the area lightly, without using too much force, or you’ll end up worsening the damage.
When you’re done sanding, it should feel smooth to the touch.
Step 6. Protect Your Car
Place used newspaper on the areas adjacent to the area you’re working on. Tape it down with tape if you need to. This will protect the surrounding surface from new paint, varnish and chemicals.
Step 7. Use Primer
Make sure not to spray primer on other parts of your car.
Apply one coat and wait at least 30 minutes. Then spray on a second coat.
Step 8. Apply Grease and Wax Or Scratch Remover
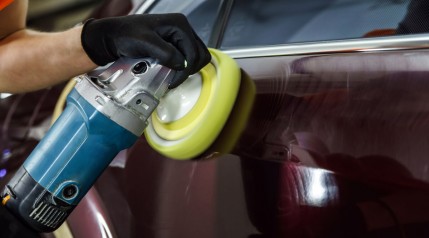
Apply the grease and wax or scratch remover product, such as Turtle Wax Scratch Repair & Renew.
This will clean the area well enough before applying the color. If the area isn’t prepared correctly, the paint job won’t be good enough.
Step 9. Use Spray Paint
Double-check that the paint is an exact color match to your car.
Hold the can about 8 inches away from the part to be colored and spray the first coat.
Let it dry for a few minutes before applying a second coat.
Wait another few minutes before deciding if a third coat is needed. You need to conceal the primer fully.
Allow the paint to dry thoroughly, as per the instructions on the can.
Step 10. Apply Clear Coat
Apply two coats of clear coat to the affected area. Wait at least 10-15 minutes between the two coats.
Remember that clear coat takes 24 hours to dry completely. You will not be able to drive your car during that time.
DIY Method Proven to Work – Car Paint Transfer Removal With Toothpaste
If the color transfer is minor, there’s another technique you may want to try. You won’t even have to go out and buy anything because everyone has toothpaste at home.
Yes, whitening toothpaste works very well to remove light scratches and marks on the surface of your car.
What You Need:
- Whitening toothpaste.
- 2 microfiber cloths.
- Some water.
Step-by-Step Process:
There are four easy steps:
- Dampen the cloth.
- Apply toothpaste.
- Use some elbow grease.
- Clean off excess toothpaste.
Step 1. Use Water
Dampen a microfiber cloth. If you soak it too much, wring it out.
Step 2. Apply Toothpaste
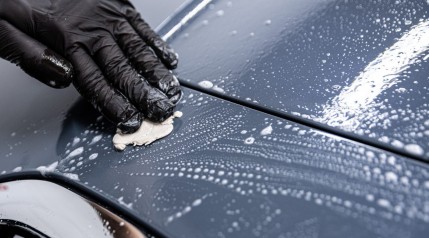
Apply a small amount of whitening toothpaste to the damp microfiber cloth.
Step 3. Elbow Grease
Rub the toothpaste on the scratches and paint transfers. You will need to use a circular motion and some elbow grease. No need to be gentle here.
The toothpaste acts like sandpaper, polishing the scratches and removing unwanted marks. This is down to the microgranules contained in the paste.
Step 4. Clean Excess Toothpaste
Remove excess toothpaste with the clean, dry microfiber cloth, and you’re done.
You may want to try this method, which is much simpler, first, and works well if you only need to remove light scratches. If the scratches are too deep though, it may not be enough to remove the damage completely. In that case, use the professional method we explained above.
Can I Ask a Professional for Help?
We’ve described the most professional and comprehensive method to remove paint transfer from a car. It is what your car will undergo if you take it to a repair shop. You can choose to have a professional remove paint transfer, of course, but it’s not a cheap procedure.
If the scratches are only superficial, involving only the clear coat, prices will range from $150–300. If the scratches are deeper, you’ll be looking at anywhere between $300 and $900.
If you decide to do it yourself, you can save yourself this expense. Although it’s time-consuming and you have to wait 24 hours for drying time, you won’t have your car if a professional does it either.
There’s the added bonus of feeling proud of yourself for being able to do it on your own.
Final Thoughts
There’s no denying how annoying paint transfers are, and they’re very easy to ignore. But, you now know of two ways to fix the problem, one of which is incredibly cheap and easy!
Although the professional method is time-consuming, our step-by-step guide shows that it’s not laborious and you’ll save large sums of money by doing it yourself.
Have you ever had to deal with paint transfer removal paint before? How did it go? Let us know in the comments section below. Also, feel free to ask us if you have any additional questions. We’ll be sure to answer them all!

