Lives are busy things. With so much going on, it’s easy to neglect our four-wheeled friends and not give them the care they deserve. In this article, though, we’re going to change that.
We’re going to tell you how to give your car its heart’s desire: a good cleaning both inside and out! Our guide to car washing will walk you through each step of the process, from gathering the right gear and prepping the exterior to removing stubborn stains and dressing the tires.
Contents (Jump to Topic)
- 1 Key Takeaways
- 2 The Ultimate Guide to Washing Your Car: An Infographic
- 3 A Quick Look at What You Need to Wash Your Car
- 4 What to do Before You Wash Your Car
- 5 How to Wash a Car by Hand: Step-by-Step Instructions
- 5.1 1. Select Your Soap
- 5.2 2. Ready Your 3-Bucket System
- 5.3 3. Prepare the Washing Solution
- 5.4 4. Wash Rag Hygiene
- 5.5 5. Choose Your Washing Area
- 5.6 6. Rinse
- 5.7 7. Wash Wheels and Tires
- 5.8 8. Spot Treat Bug, Tar, Sap, and Bird Poo Stains
- 5.9 9. Scrub
- 5.10 10. Final Rinse
- 5.11 11. Dry
- 5.12 12. Don’t Forget the Windows
- 5.13 13. Apply Tire Dressing
- 5.14 14. Clean the Headlights
- 5.15 15. Wax
- 6 Time to Celebrate A Job Well Done!
Key Takeaways
Timing and Location – It’s best to wash your ride in a shaded spot on a clear day.
All About the Order – Start with the wheels before moving on to the roof, then the body, then the windows (discover the method to this apparent madness below!)
Use the 3-Bucket System – This is the best way to avoid dirtying what you’ve already cleaned or accidentally scratching your paintwork with grit or debris
The Ultimate Guide to Washing Your Car: An Infographic
Before we kick this guide off, here’s an infographic we put together that summarizes everything we’re about to discuss in great detail in the sections that follow.

A Quick Look at What You Need to Wash Your Car
Skill Level Needed: Beginner
Time Needed: 1.5 – 2 hours
Tools Needed:
- 3 buckets
- Sponge
- Several microfiber cloths and/or car wash mitt
- Garden hose
- Car wash soap
- Glass cleaner
- Bug and tar remover
- Stiff nylon brush
- Degreasing spray
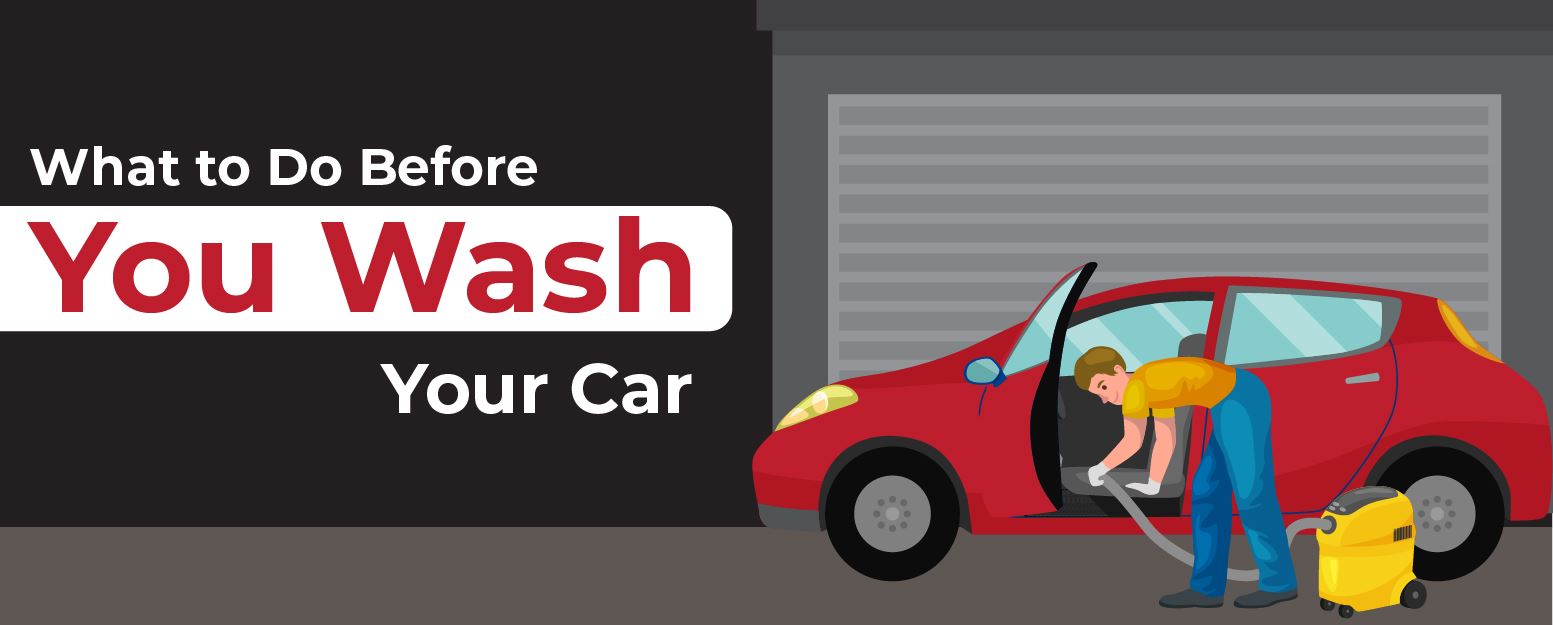
What to do Before You Wash Your Car

No doubt you’re excited to start lathering up, but there are a few things that should be done before we get to that part.
1. Close All Windows
This should be a no-brainer, but… Do a double-check and be sure no window is open even a crack before you begin the cleaning process!
2. Pull Windshield Wipers Out
Grab each windshield wiper and carefully pull it away from the window. You’ll feel it lock into place, at which point the wiper will stay there indefinitely.
Doing so allows you to get at the entire surface of the windshield, right down to where the wipers rest. A lot of debris can accumulate here, so you won’t want to miss it.
3. Start With the Inside
Washing the outside of your car is the perfect excuse for cleaning the car’s interior. There’s absolutely no point in doing half the job, you know!
Plus, you don’t want to accidentally smudge the exterior getting in and out trying to clean the inside after you’ve done the outside.
How to Wash a Car by Hand: Step-by-Step Instructions

Yes, there are all kinds of cool gadgets out there meant to help you wash your vehicle, but the whole reason you want to skip the automatic car wash is to give your vehicle the personalized attention and TLC it needs!
No machine wash will ever be as good as a hand wash can be if executed properly. Automatic car washes can miss areas, cause scratches, and, in the case of drive-through washes, you’ll be left with spots as the water dries unless you wipe down your car almost immediately.
1. Select Your Soap
Invest in a soap or car wash solution that will be friendly to your car’s paint surface. There are soaps specially formulated for use on automotive paint, so do yourself a favor and use one of those.
Your car is a major investment, so don’t cut corners when it comes to caring for its appearance!
2. Ready Your 3-Bucket System
You’ll need 3 buckets – 1 for soapy water, 1 for clean water, and 1 soapy bucket for tires. We highly recommend fitting each bucket with a grit guard insert. This catches grit, debris, and loose dirt at the base of the bucket, making it less likely to end up on your washing cloth.
Using hot water will help break down dirt and oil more quickly and easily. But, if cold water is all you’ve got, that’s totally fine as well!
3. Prepare the Washing Solution
We can’t tell you how to ready your cleaner correctly. We can, however, tell you to read the label and do as the manufacturer tells you.
Read this guide if you want to prepare your own car wash solution instead.
4. Wash Rag Hygiene
Any little bit of debris on a cleaning cloth can leave anything from large, visible scratches to tiny micro scratches that accumulate over time and degrade the look of your paint job or chrome.
Have a supply of clean cloths or mitts available in case you do accidentally get debris on the one you’re using.
5. Choose Your Washing Area
If you can choose a washing area, choose wisely!
Look for a spot with shade on a sunny day. This will keep metal surfaces inside and out cool, and prevent the interior from becoming stifling hot. Plus, staying out of direct sunlight will keep your water from drying out and spotting before you have a chance to rinse and dry.
Don’t do your washing on a dusty road or under a tree where sap and/or leaves might fall and foul up your handiwork.
Think about drainage, too. You don’t want water flowing towards your house or garage if you can help it, and soapy runoff isn’t great for your garden, either.
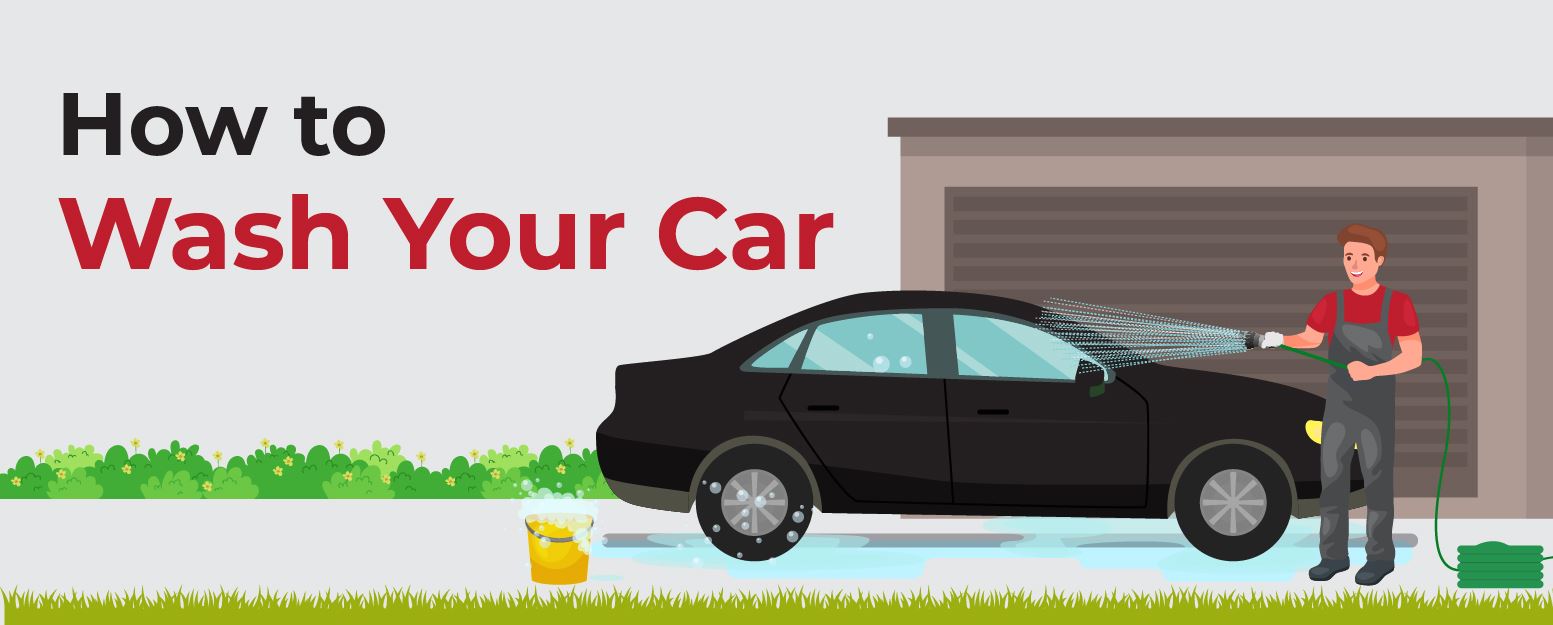
6. Rinse
Begin with a good hosing off without any soap. All you’re doing here is removing the car’s surface dirt that comes off easily before you start scrubbing. Pay particular attention to the tires and wheel wells, and the grill.
7. Wash Wheels and Tires
Your wheels and tires are the best place to start. For one, they’ll need some heavy-duty scrubbing, and you’ll want to tackle that while your arms are fresh and your legs are still able to squat. Also, spraying water on your tires may scatter debris onto the car, and you do not want to dirty a spot you’ve already washed.
You don’t need a special soap or cleaning solution for your tires (Dawn Dish soap works well!); you can make perfect use of whatever you’re using on the bodywork.
However, special soaps for tires are available, and you may find they do a better job. For a deep cleaning, use a stiff brush to really scrub at the rubber and get in every crevice.
Ever noticed a fine, dark powder on your rims? That’s brake dust, and it’s mostly iron. That’s right – dust made of metal. A static charge keeps it clinging to your car instead of just falling clear.
Brake dust is formed as your brake pads and rotors gradually wear down. If you’ve got older pads, there may even be asbestos in the dust, so do not lick your fingers after you touch it or put your face right in it!
As you might imagine, because the dust is metal, it can really scratch up your car’s finish. This is another reason why you should use separate towels for cleaning the tires.
8. Spot Treat Bug, Tar, Sap, and Bird Poo Stains
It sure seems like Mother Nature has it in for our cars! Stuck-on bugs, bird droppings, and tree sap all find their way onto our vehicles, and they’re hard to get off.
You could try some good ol’ elbow grease, but a more efficient method is to use bug and tar removers, which will make your life easier.
9. Scrub
Start with a clean cloth and get it soaped up in the car body bucket, then start scrubbing.
Start with the roof. Doing the roof later guarantees that dirty water will run down onto places you thought were done.
Go back and forth in a straight line, overlapping the previous line each time, rather like painting a wall with a roller.
After soaping and scrubbing a section, rinse it thoroughly before moving on to the next one. If you try to soap the whole vehicle at once, the soap where you started will likely dry up before you get down to rinsing off.
If your vehicle is very dirty, you may need to change your rinse water once or twice.
As you’re washing, keep an eye on your towel or mitt. Once it starts to look dirty, change the water and switch to a new towel.
10. Final Rinse
Once all 5 sections are washed and rinsed, give the vehicle one last rinse with the clean water bucket to make sure all soapsuds are gone.
11. Dry
Letting your vehicle air-dry under the sun or on the road is a viable option, of course, but you’ll also end up with water spots if you do that. You can also use a leaf blower…but how many of us have one of those?
Instead, use a chamois or a clean, dry microfiber towel to remove the water gently.
Once you’ve finished drying off the exterior, finish off the drying process by opening up the doors and giving all the sills, jambs, and seals a wipe, as well as the undersides of the doors. You’ll be amazed at all the places water will seep into!
12. Don’t Forget the Windows
With the body finished, it’s time to move on to the glass. Clear vision is essential to safe driving, so don’t quit on us now!
We do this step near the end because soap is just going to run down onto your windows anyway.
Use a specialty product meant for use on automotive glass. Follow the instructions on the label, and have a microfiber towel handy for wiping up overspray or runoff.
13. Apply Tire Dressing
For that showroom finish, use a purpose-made tire dressing formula to make your rubber shine like new.
Directions vary depending on the brand and product you go with, but generally speaking, you need to spray the dressing on the tire and then wipe it with a clean cloth.
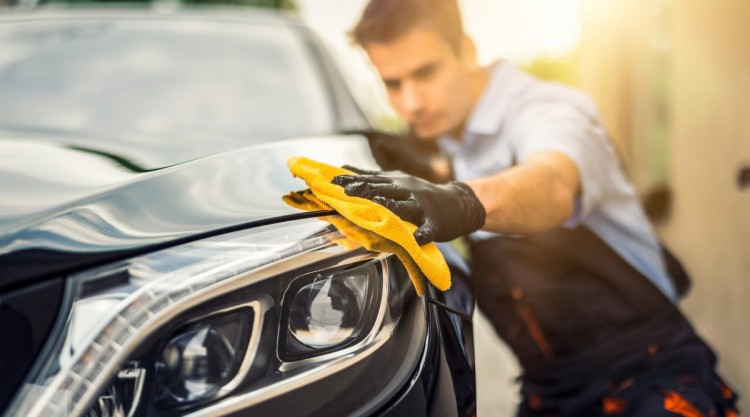
14. Clean the Headlights
Your headlights are an essential safety feature, so show them some love, too.
Washing them regularly will help prevent the fogging effect frequently seen on acrylic and polycarbonate (fancy words for plastic) headlight covers.
If they’ve already gone foggy, you’ll need to purchase a headlight restoration kit. This is a multi-step process involving sanding the surface, polishing them, and applying a sealant.
15. Wax
The process of washing your entire car doesn’t just take off all the dirt – it also does a number on your wax. Now that it’s clean as a whistle, this is a perfect chance to give your ride a fresh coat.
Want to know how to wax the right way? Take a few minutes and read a complete guide to waxing your car here!
Time to Celebrate A Job Well Done!
If you have a cold drink handy, now’s the time to crack it open and celebrate a job well done!
By washing your car regularly, you’ll not only keep it looking at its best, but you’ll also prolong its lifespan – so good on you! And by skipping the local car wash to do it yourself, you’ll also be saving money.
If you’ve got any questions about car washing, send them to us, and we’ll get you an answer as soon as possible!
Until we meet again, happy washing!


