Doing your own car repairs is one of the more satisfying tasks a car enthusiast can be involved in. However, some tasks are a little more daunting than others – none more so than any that involve sliding beneath your ride to take care of repairs or tweaks on the undercarriage.
According to the National Highway Traffic Safety Administration, approximately 10,000 people a year are injured using a jack or other vehicle-lifting equipment, and 74,000 are injured by a falling vehicle or vehicle part.
As you improve your repair skills and move beyond simpler tasks like oil changes – or anything else which can be done on ramps and brakes and doesn’t require you to get under the car – you’ll need to know how to keep things safe when you can’t use ramps.
For that, you’re going to need jack stands.
Worried? Don’t be! It’s not that difficult. We’re here to help you with all you need to know about doing this safely without becoming one of those statistics.
Before we get down to the specifics of how to use jack stands, let’s first make sure you aren’t bringing a knife to a gunfight and have the right type of jack stand for the job!
Key Takeaways
- The Golden Rule – Floor jacks are for lifting, jack stands are for supporting.
- Pin or Rachet? – Of the two types available, pin models (as long as the pin is thick!) are the safest.
- Safety First! – Always work on a solid, level surface, let someone know you’re working under your vehicle, and start the process again if you have any doubts about the security or stability of your stands once you’ve raised your vehicle on them.
Make Sure You Have the Right Jack Stand For The Job
Every jack stand has a weight rating. To get this part right, you’ll need to know your car’s curb weight. This should be listed on a metal tag mounted in the driver’s side door frame. If the tag is missing, use Google to determine the specs of your particular model and make.
Make sure that the ones you’re using are rated for at least the weight of your car, preferably much more. There’s no harm in using heavier ones, though.
Also, here are a couple of pointers to keep in mind, as far as what you should avoid doing goes.
- Never use jack stands that are rusty, in poor repair, or for which the weight rating is unknown.
- Don’t use a homemade or DIY jack stand. A solid pair that’s professionally made and rated for an average passenger car costs about the same as an oil change. It’s a small price to pay for safety.
- Don’t use Harbor Freight jack stands. In 2020, jack stands manufactured by this brand (3 and 6-ton models) were recalled. Subsequently, the replacements the company provided purchasers were also recalled…yikes!
How To Put Your Car On Jack Stands
We’ll walk you through the procedure in a moment, but first, let’s quickly go over a few notes and another warning or two that you should always keep in mind.
Sorry for repeating ourselves, but this is important stuff, because your life depends on it!
- Working on a vehicle involves risk, no matter how careful you are, but the risks can be mitigated with careful preparation beforehand. When doing any of this, it’s especially important to be rested, not under the influence of drugs or alcohol, and to understand the instructions of all the equipment you’ll be using.
- Assume the jack stands could fail or the car could fall at any given time, and for one of many possible reasons. Plan accordingly using the tips below for backup protection.
- Work with someone else on the property and within earshot, so that if the unthinkable happens, there’s someone to act straight away and call emergency services for you.
Now that we got all of that out of the way, on with the show!
Step One: Park On a Flat Surface
Park your car on a firm, level surface, such as a flat concrete garage floor or driveway. Working on gravel or grass can allow the jack stand to shift off the vertical and tip.
In hot weather, all that weight concentrated at the bottom of a metal jack stand or floor jack can punch divots into asphalt warmed by the sun or high summer temperatures, so choose concrete.
So, put it in first gear or park, and set the parking brake.
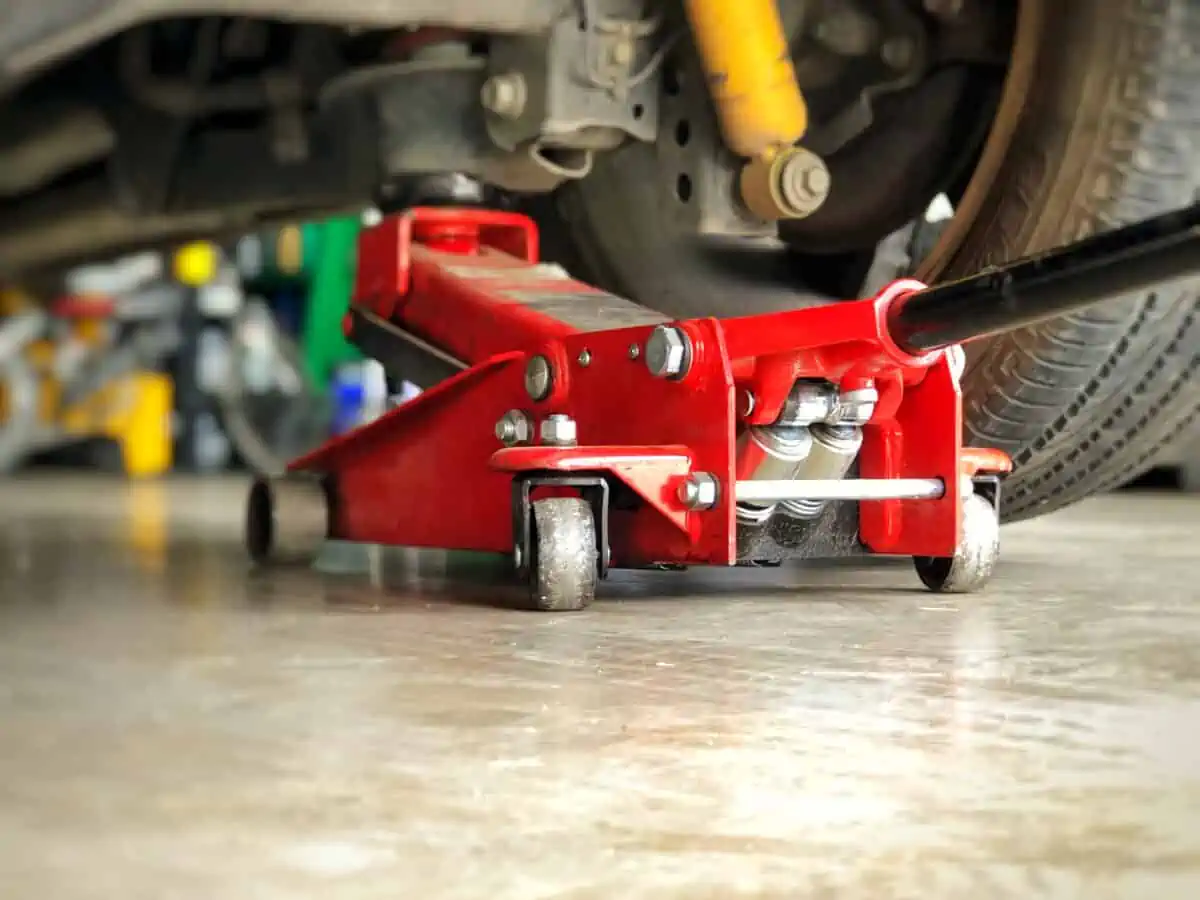
Step Two: Lift it Up
Lift the car using a floor jack rated for at least the weight of your car. We’ve already covered how to jack it up in another article, but here’s what you’ll need to do (briefly):
- Make sure your car jack is in good repair and is raising and lowering properly.
- Use wheel chocks on the opposite wheels of the area you’re jacking.
- If you’re planning on removing a wheel to work, remember to loosen your lug nuts before you lift the car. Breaking lug nuts loose after the car is in the air can unbalance it and cause it to tip.
- With your jack below an approved center-front or center-rear located jacking point, raise it close to the car, adjust positioning if needed, and then continue to raise it until the car begins to lift. Continue carefully raising your vehicle until it’s just a bit higher than the working height you need.
- Note: Never lift your car by trim, bumpers, or anywhere that you are not confident is an approved lifting point. If you do so, you can cause some damage or even get hurt yourself!
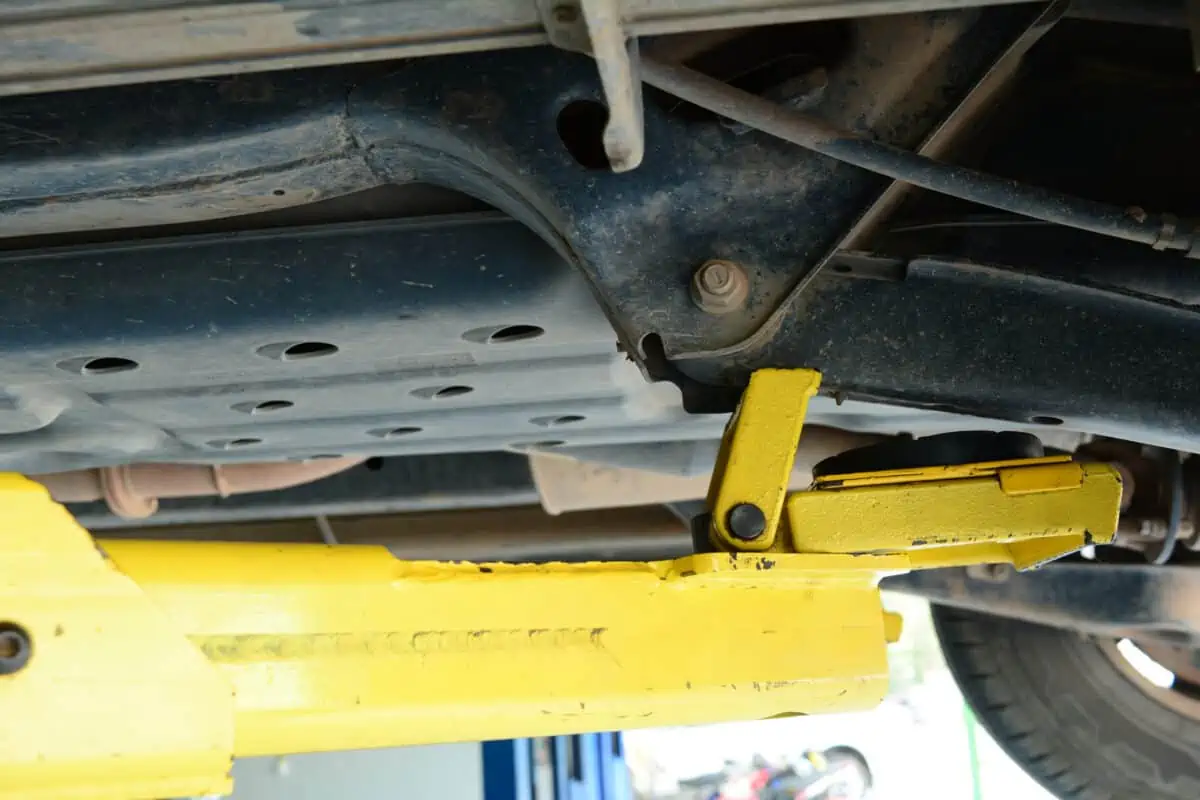
Step Three: Locate the Jack Points
Your best source for safe jacking points is your owner’s manual. The video below offers some general guidelines applicable to most vehicles, but always be extra sure by cross-checking against information for your specific model.
If you’re unsure about identifying components underneath, get help before proceeding – better safe than sorry!
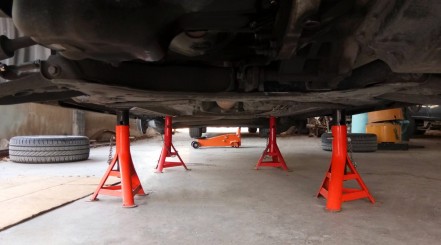
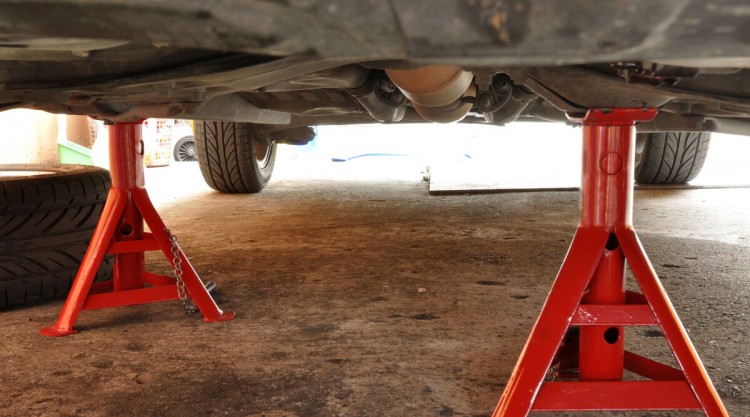
Step Four: Place Them
You’ll be using two jack stands to support either the entire front or the entire back of the vehicle. As mentioned before, you’ll want to support the car symmetrically and not just on one corner.
When placing these two, keep the car’s weight load as symmetrical as you can.
- Place each jack stand underneath the designated jack point at either side of the car near each front or rear wheel.
- Adjust the height of each one if needed, to raise the saddle at the top of the arm close to your vehicle.
- Check to make sure that the ratchet lever or pin is securely in place.
Step Five: Lower It
Slowly lower your jack until the car rests on the stands.
If you hear something give way or shift, STOP IMMEDIATELY! Raise the car back up and check your jack stands to be sure they’re stable. Check your car, too, to be sure nothing has buckled or bent.
Step Six: Check Your Work
Before you start your repair, don’t skip on ensuring that things are stable.
- Place your hands on a bumper and give the car a good bump or wiggle to make sure it’s not going anywhere.
- If there’s any instability, use your jack again to lift the car and adjust the position of your stands.
Step Seven: Offset the Danger In Case It All Goes Wrong
You should now be able to work safely underneath. However, we recommend you take two additional steps to protect yourself if – despite all precautions – something goes wrong.
Provide one of the following as a fail-safe for yourself.
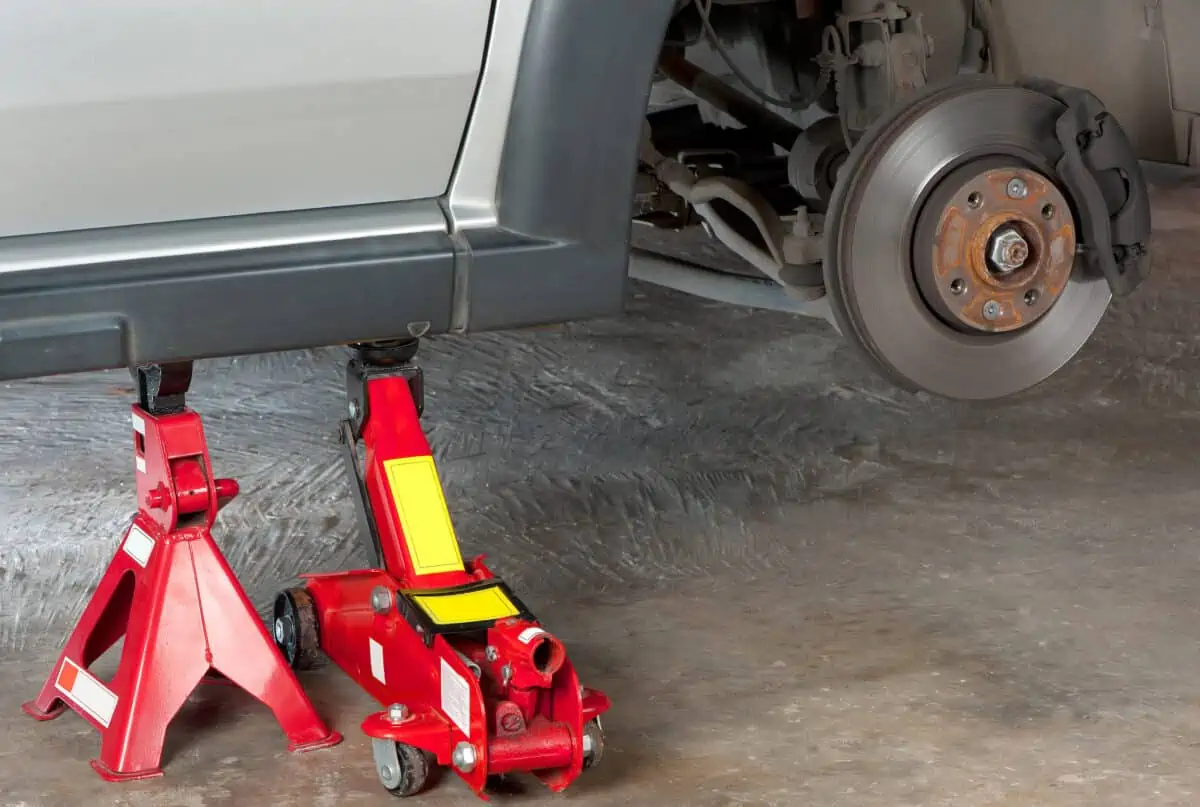
- Leave the floor jack elevated and just a fraction below the point you used to lift the car. If the car were to fall, the floor jack should be able to catch it.
- Or, put one of the wheels you’ve removed to work on the car flat on the ground near the rocker panel or lower side edge of the side you’ll be crawling under. This will provide a catch if the car should fall. You may still get injured, but the wheel should keep it from falling all the way to the ground and crushing or pinning you with its full weight.
And finally, it’s a good idea to inform someone nearby that you’ll be working underneath! They don’t need to be in the garage with you throughout the entire process, but they should be within earshot so they can hear you if you call for help.
Step Eight: Getting it Safely Back On the Ground
When you’re all done with your work, follow the above steps in reverse to get your car back on terra firma.
- If you used a wheel flat on the ground as a failsafe, put that wheel back.
- Center your floor jack under the lifting point you used to lift the car and raise it an inch or two above the stands. Don’t lift it more than absolutely necessary!
- Remove your jack stands and put them to the side, somewhere far away where you won’t stumble over them.
- Slowly lower your jack until the car is resting fully back on the concrete, your jack is all the way retracted and can be pulled free.
What Kind of Jack Stands Are There?
There are two major types of stand you’ll be choosing between: pin and ratcheting jack stands.
But, before we describe them, we want to be very clear about the difference between a floor jack and jack stands first.
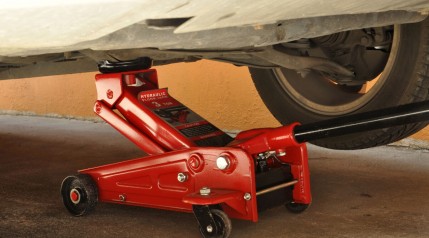
Floor Jacks and Jack Stands: A Key Distinction
A floor jack (whether a scissor jack or bottle jack) is a type of hydraulic jack used for lifting a vehicle only. (For those of you interested in learning more about this, we’ve written a detailed guide on how to use a floor jack properly here).
Jack stands, on the other hand, are for supporting it above the pavement.
You’re going to get tired of us saying it, but it’s really important: NEVER get under a car that is not supported by pairs of jack stands or ramps…floor jacks alone won’t cut it! If you don’t already have some, check out the top models in our best jack stand guide.
Don’t underestimate your vehicle…it weighs around two tons, after all! So, if it falls on you, death or severe maiming is more than likely.
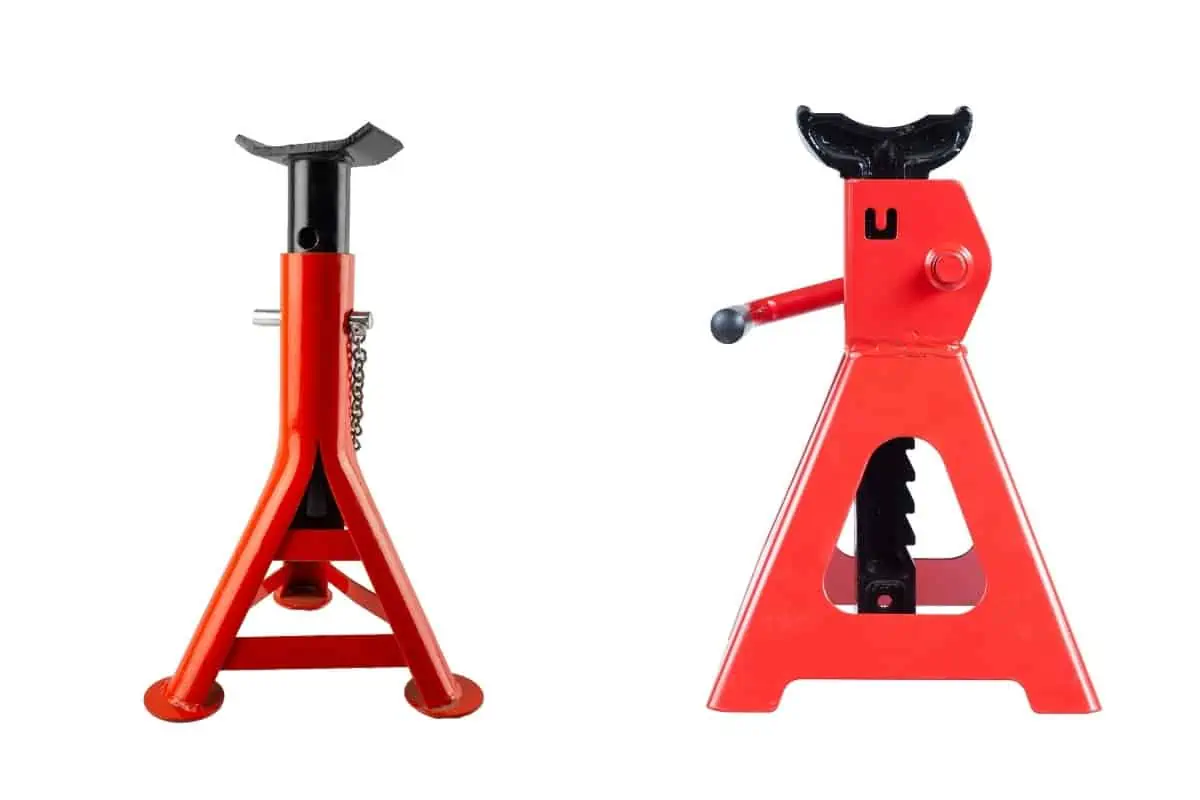
Two Types: Pin or Ratcheting Jack Stand?
Now that we’ve got that clarification out of the way, we can describe the two styles of jack stands you’ll come across: a “pin” type and a “ratcheting” type.
A pin-type jack stand uses a heavy steel bar through a hole to hold the stand’s top arm in place against the weight of your car.
A rachet or lever type uses a heavy angled bar to hold that top arm in place against the jack point on the underside of your vehicle. Some ratchet-style ones also have a pin, but one that’s meant to act as a backup rather than as the main supporting mechanism.
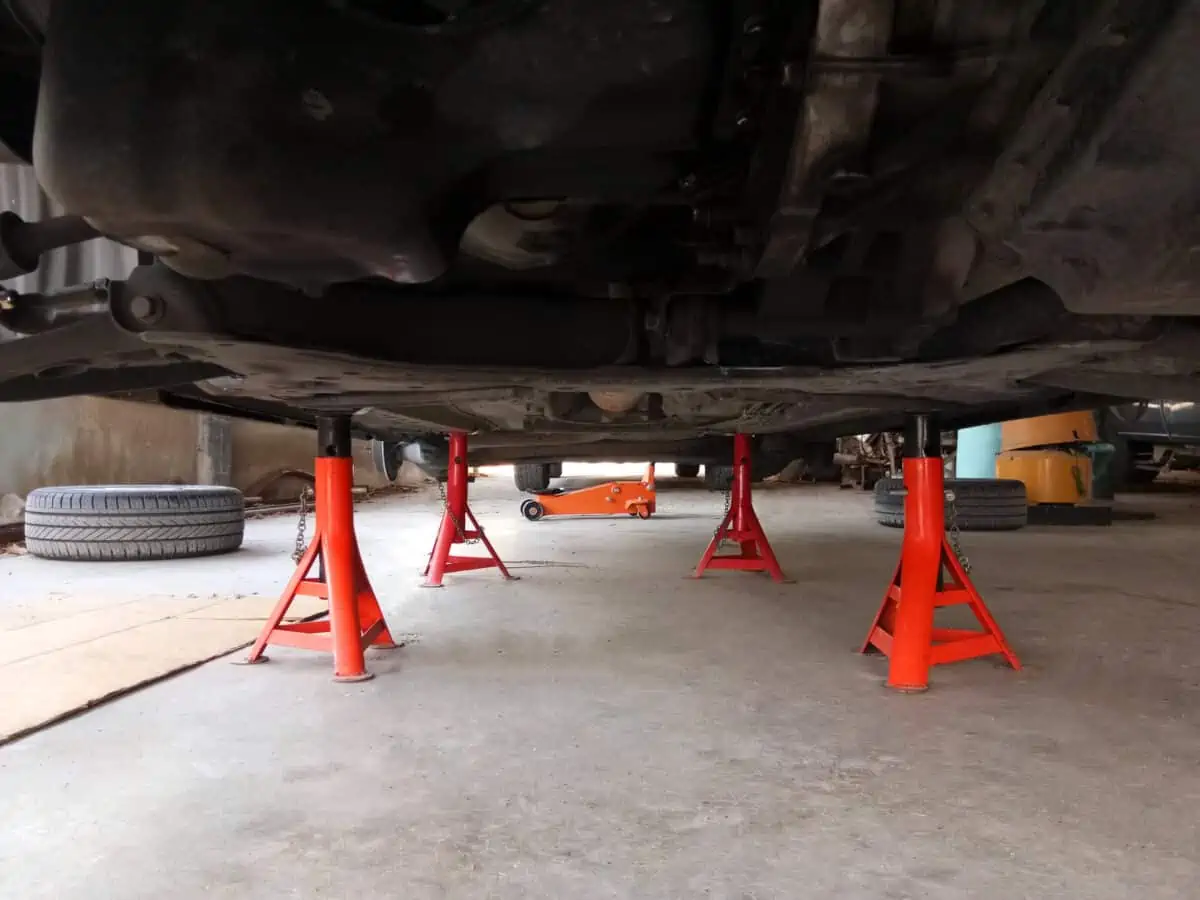
How Many Do I Need?
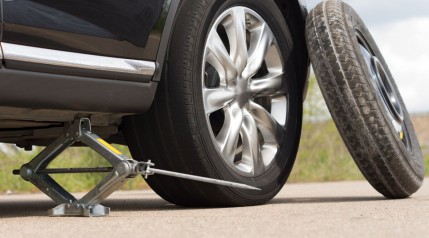
These things should always be used in pairs. Using these things on only one corner of a car will risk tipping them. Any tipping of the jack stand can cause one of the legs to buckle.
A car may be lifted one corner at a time, as you do when you change a flat tire, but it’s definitely not safe to work under it if it’s supported by only one jack stand at only one corner.
How to Use Jack Stands: Wrapping It Up
We know this is a lot to absorb in one sitting, so kudos for hanging in there and going through everything one step at a time! It’s for your safety before anything else, though, so it’s definitely worth the effort.
Some of these recommendations may seem over cautious to you, but we encourage you to take them anyway. It might take you a little longer to set up, but it’s worth it for the sake of safety.
Do you have any questions? Any jack stand stories to tell from personal experience? Have you had a close call working on something similar that taught you a lesson about safety? Share in the comments! You never know, your story might well end up saving a life!