Motor oil is an essential lubricant that contributes more to optimal engine function than you could imagine. Without oil, your engine would seize, and permanent damage would occur.
However, oil isn’t the only essential part of a vehicles lubrication system.
There’s also the filter that keeps the oil clean from impurities, that if they were left to cycle through your engine can result in corrosion, clogs, reduced performance and eventually expensive repairs.
However, the oil filter has a finite life and needs frequent replacing. But to do so requires a specialist tool, and that’s what this article is about: How to use an oil filter wrench to remove an oil filter.
Maybe you’re a novice looking to change your oil filter for the first time? Or, perhaps you’re experienced, but you’ve bought a type you’re not familiar with?
Whatever your circumstances, we’ve got your back.
Below you’ll discover tips and guidelines for using an oil filter wrench correctly, safely, and efficiently.
There are different types available, so be sure to read through the instructions below for the particular tool that’s relevant to you.
Skill Level: Beginner.
Time to Complete: 20 to 30 minutes.
Tools Needed:
- Oil filter wrench.
- Ratchet driver or socket extension (check your tool for specifications).
- New filter.
- Drain pan.
- Jack and jack stands.
- Disposable rags.
- Safety gloves and glasses.
Why do You Have to Change the Oil Filter?
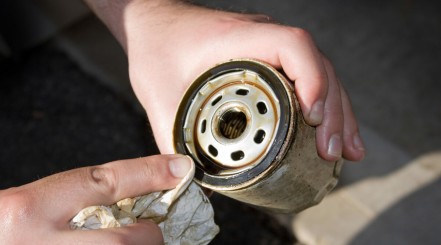
The filtration unit plays a key role in the lubrication system. As the lubricating fluid travels through your vehicle, it picks up debris. This can be anything from sediment buildup to corrosive compounds.
Oil doesn’t just lubricate, it also dissipates heat and works as a cleaning agent.
Each trip through the filter refreshes the oil. Over time, the material inside this can-shaped unit will become saturated.
If the filter gets too filthy, it won’t be effective anymore. This is why the oil filter has to be changed every so often, just like the oil itself.
Watch this informative video to see how all this works:
Protect Yourself – Gloves and Glasses

Don’t operate under the misconception that oil is harmless. Admittedly, it doesn’t have as bad of a reputation as other automotive fluids, like antifreeze.
That doesn’t mean that it isn’t toxic. Especially when it’s dirty, oil can contain all sorts of harmful compounds you don’t want on your skin.
Prepare Your Vehicle
Now that the safety lesson is out of the way, get your car ready. Have all your supplies close by, to reach for when needed.
Choose Your Work Area
You should be working in a well-ventilated area. Pick somewhere where the ground is level, preferably concrete.
A grassy location isn’t advisable, even if it isn’t hilly or sloping. Your jack stands can start to sink into the earth.
Allow Engine to Cool
If you’ve parked right outside your house, this doesn’t apply to you. Those of you who had to drive for a while need to give the engine time to cool off.
Don’t rush this — you should wait at least 30 minutes. Attempting to remove the filter too early could expose you to scalding-hot lubricant.
Jack it up
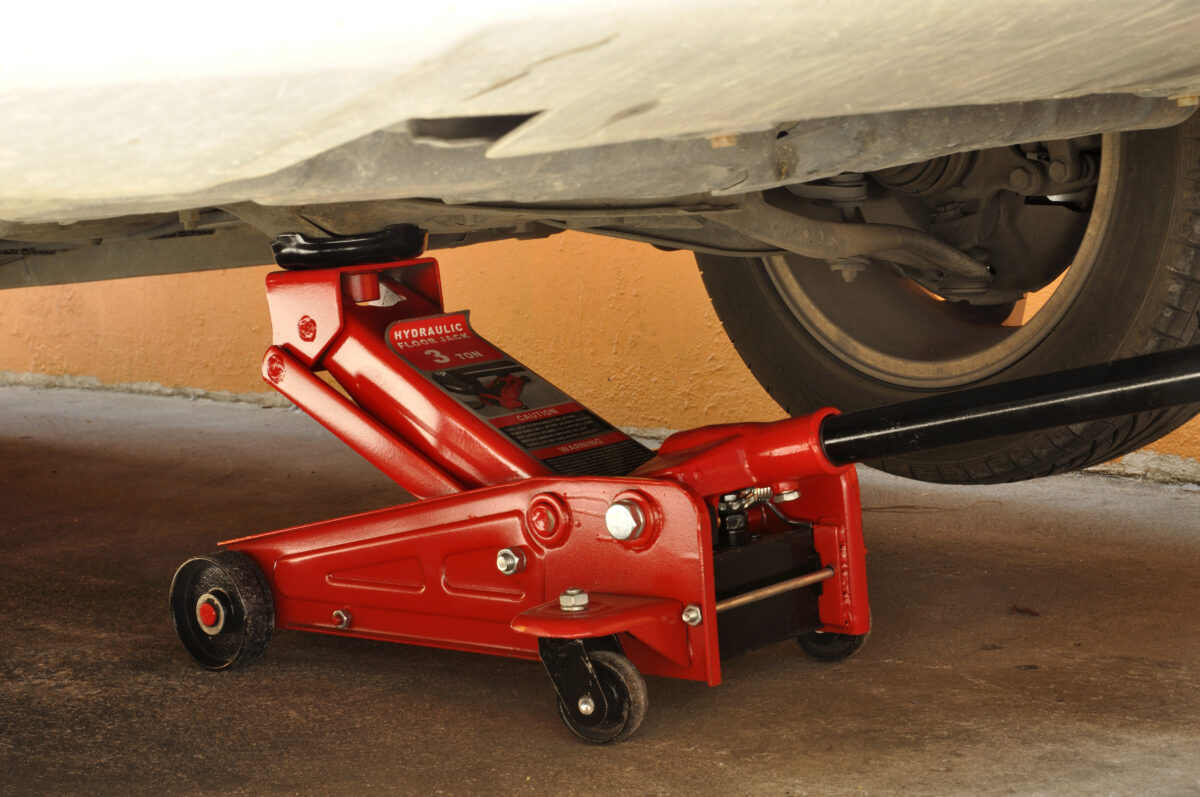
Jack your car up (using a scissor jack, bottle jack or whichever type you have access to) and place your jack stands. The grille doesn’t have to be pointing at the sky, but you want it fairly elevated.
This will give you better access to the filter. In certain vehicles, the unit can be recessed in tight, hard-to-reach areas.
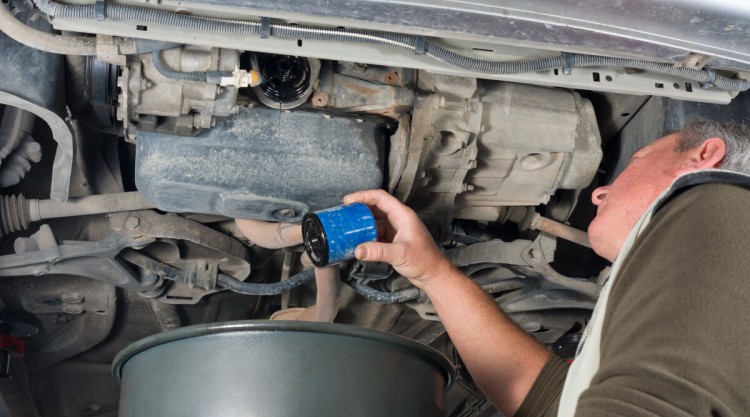
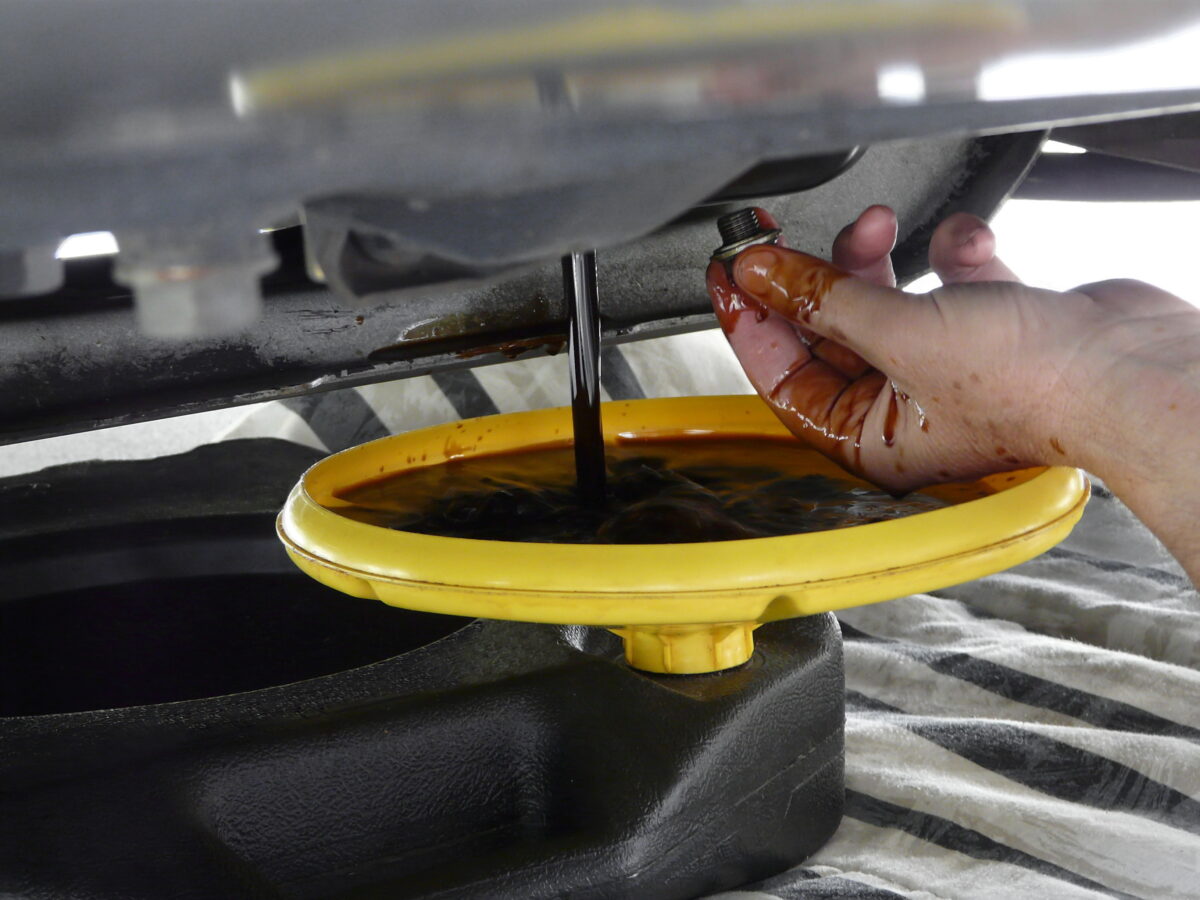
Position Drain Pan
Place the drain pan underneath the drain or sump plug. The oil will flow out when you remove the filter, so position the drain pan accurately.
Remove Sump Plug
Remove the sump plug and wait until the lubricant stops flowing out.
Empty and Replace Drain Pan
Before you continue, empty the old lubricant from the drain pan into disposal containers. Replace the pan underneath the filter. More oil will flow out once it’s removed.
Style of Wrench Determines How It’s Used
There are many different types of oil filter wrench to suit the different types of oil filter, and where they are located in the engine. Since each is distinct, the type will determine how you’re going to use it.
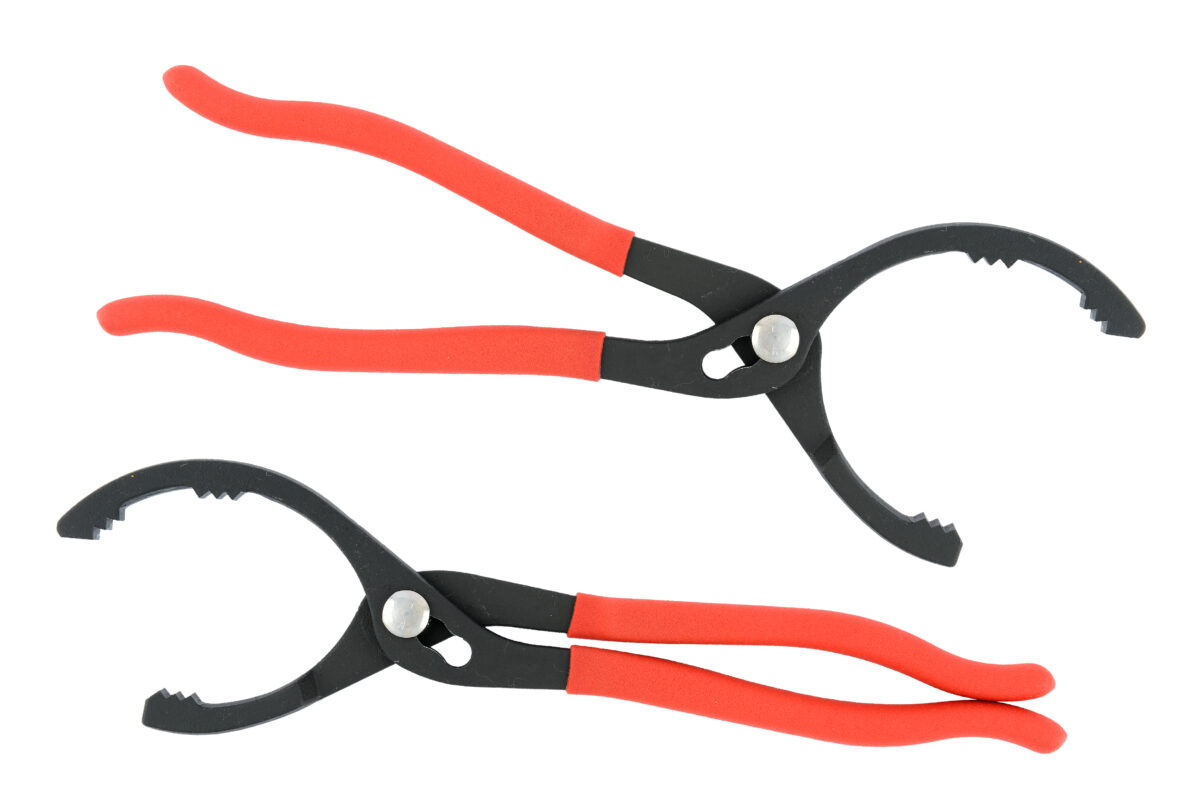
Pliers-Style
This type resembles standard pliers with a few differences, but you use them more or less the same way.
The handles tend to be long rather than short. This enables the user to move them into small, hard to reach spaces.
Instead of bare metal, the jaws are usually coated in plastisol or a similar substance so they won’t slip on slick, greasy surfaces.
The jaws may also have an overbite, which is where one jaw is longer than the other, or angled teeth. These features are to improve the grip.
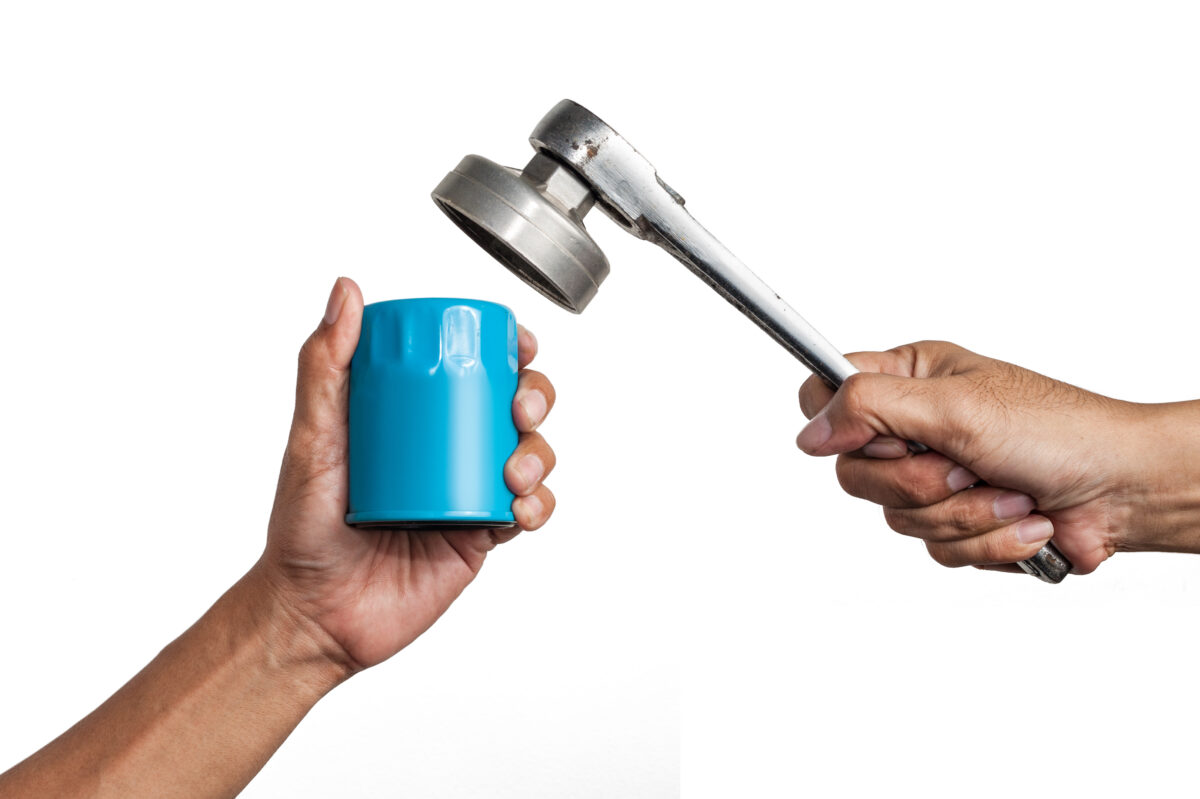
Socket-Style Or Cap-Style
Socket or cap-style models are the simplest varieties. There are no moving parts or mechanisms, it’s just a metal cap.
The base has a recess in it to be used with another tool. This can be either a ratchet driver or a socket wrench extension, used to loosen or tighten it.
These tools come in fixed sizes, so picking the right one is essential.
Cap styles are perfect for oil filters in awkward places. They’ll also work for removing units that are deeply recessed.
Spider (Claw or Jaw)
There’s nothing to be frightened of when it comes to spider wrenches. They only vaguely resemble the insect they’re named after.
Just like cap-style models, a claw type oil filter wrench needs a ratchet drivers to work. You insert the extension into the recess at the bottom and tighten as needed.
The body of the tool is a plate containing metal gears. In turn, these gears are attached to legs (claws or jaws).
The flat build is good for low-clearance areas. Spider types are less likely to get stuck or require excessive force.
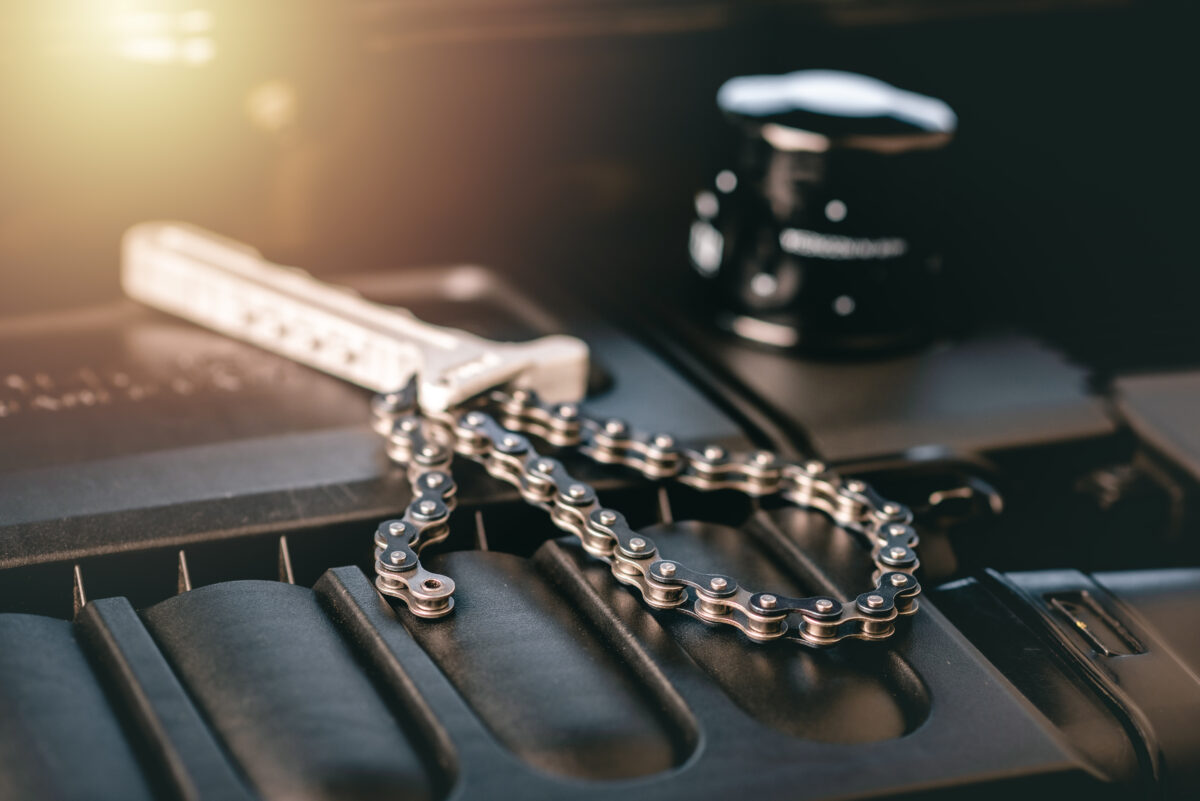
Strap-Style
Strap-style wrenches are exactly what they sound like. The part that tightens is a strap, made of either metal, rubber or fabric.
They’re either equipped with handles to adjust them or with a metal bar for an extension.
The fabric and rubber straps are great for attaching to recessed units. These materials can’t scratch surrounding areas or get jammed.
Specialist Wrenches
Specialist wrenches are usually only compatible with specific makes and models of cars. These can vary dramatically based on the vehicle they’re intended for.
Tips for How to Use an Oil Filter Wrench
There are a few general tips to keep in mind that could make things easier for you. Regardless of the type of tool you own, the following tips should be of use.
Have the Correct Additional Tool
As we’ve touched on, some wrenches need additional tools. If yours is one of the wrench styles we’ve mentioned, ensure the compatibility between the wrench and tools you have, either a socket extension or ratchet driver.
Check with the manufacturer if you aren’t certain. You need to be aware of the correct size tool you’ll need.
Never Force it
Don’t try pushing or forcing a tool where it won’t fit. You could end up breaking it or damaging surrounding components.
Worst case scenario, you’ll find yourself with a trapped filter. You might have to involve your mechanic to get it back out.
If the filter unit is stubbornly stuck, you’ll likely have to put some physical effort in. This doesn’t mean you should overdo it and apply enough force to crush or destroy it.
Distorted oil filters can be more of a challenge to get out than a whole one. Try to avoid doing this unless it won’t budge.
Stay Patient
Even with specialized tools, you can encounter trouble on the job. Perhaps you’ll have to position your wrench more than once if it slips. This can be frustrating, there’s no doubt about it.
Be patient with yourself, even more so if this is your first time. You’ll get into the flow of it sooner than you think.
Use Your Hand for Installation
It won’t be necessary to use your tool once you’ve removed the old unit and are putting in a new one. In fact, over-tightening your new filter will make it harder to take out later.
Screwing it in by hand is all that’s needed. Plus, certain wrenches have a powerful grasp so you could end up damaging the new unit by accidentally overtightening.
How to Use a Pliers-Style Wrench
Those of you with pliers-style tools, take out any additional attached tools first. Continue the removal by doing the following:
Step 1
Open the jaws of your pliers to grasp the end of your filter. Grip the handles until you get a secure bite.
Be careful not to apply too much pressure, so as not to puncture the filter. This can make it more of a challenge to remove.
Step 2
Holding the handles firmly. Twist the pliers anti-clockwise to loosen the unit.
Step 3
Once it’s sufficiently loosened, release the pliers and put them to the side. Unscrew the unit by hand and dispose of it.
How to Use a Socket-Style or Cap-Style Wrench
Ready to use your socket-style or cap-style wrench? Get back to your vehicle and follow these instructions:
Step 1
You want to place the cap on the end of your filter. If you can reach it without much trouble, position the cap first. Then, insert your ratchet driver or socket extension.
For recessed units, attach the appropriate tool first. It will serve as an extension to help you place the cap. Push it firmly on to keep it from slipping out.
Step 2
Turn your ratchet driver (or socket extension) counterclockwise. Keep an upwards pressure with your hand.
Step 3
When the unit has loosened, remove the cap-style wrench, and then detach it by hand.
How to Use a Strap-Style Wrench

Some types of wrench require an extra tool. Others come with a handle and built-in latch for tightening. We’ll tell you how to use both.
With Additional Tool
Follow these steps:
Step 1
Insert your ratchet driver or socket extension into the metal attachment.
Step 2
Position the strap to get a grip on the filter you’re removing.
You may want to use your rags to wipe off grease if the strap is made of fabric. This will lower the chances of it slipping off while you adjust it.
Step 3
The additional tool is the driving force behind the strap. Keep tightening until the filter is loose enough to remove by hand.
With Built-In Latch
Finish the job by completing these steps:
Step 1
Loop the strap around the filter. If your strap is detachable, put it through the latch to secure it beforehand.
Make sure you have the tool positioned where you can handle the tightening mechanism easily.
Step 2
Using the built-in latch mechanism, tighten as needed.
Step 3
Keep going until you can unscrew the filter with your hand.
Specialist Oil Filter Wrenches
As we mentioned earlier, there are many models in this category. It would be impossible for us to provide instructions for all of them.
Your best bet is to contact your vehicle’s manufacturer for questions and user guidelines. You can also check with your mechanic, who may be familiar with the type of wrench you have.
Final Thoughts
Congratulations! You now know how to use an oil filter wrench. We hope our guidelines were of use to you.
Learning to perform basic maintenance tasks on your vehicle is practical and cost-effective. You’ll be saving cash that would otherwise go to your mechanic.
Remember to be gentle on yourself if this is your first attempt. Don’t get impatient if you find adjusting or placing the tool a challenge at first.
And if you somehow found yourself with the wrong type, or without a wrench at all, please check out our guide for how to remove an oil filter without a wrench.
If you have questions or any other tips that might be helpful, tell us in the comments below. We value the opinion of our readers, and we look forward to hearing from you.