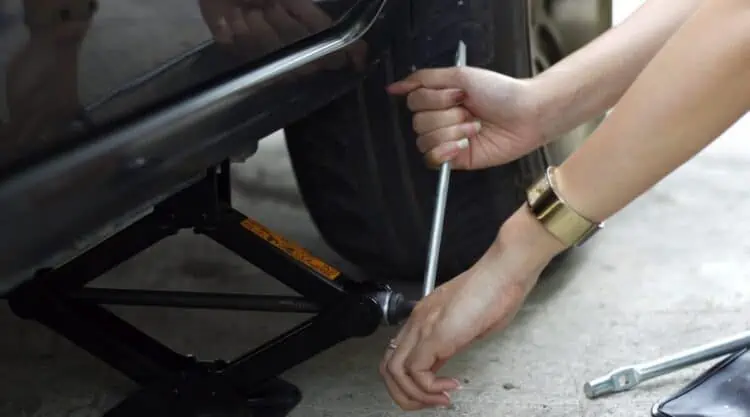
We think an informed vehicle owner is a happy and safe vehicle owner. That’s why we’ve put together this article on scissor jacks.
Though they may be the most common of all automotive jacks, they still need to be used correctly and with caution.
Read on for firstly, a brief overview of what scissor jacks are and importantly how they work.
We’ll then finish with complete step-by-step directions for using yours the right way.
Protect yourself and your vehicle – read this before you try to jack up your vehicle, especially if this is your first time.
What is a Scissor Jack?
An excellent question, especially if you’re unfamiliar with jacks.
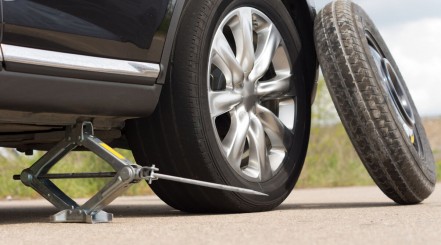
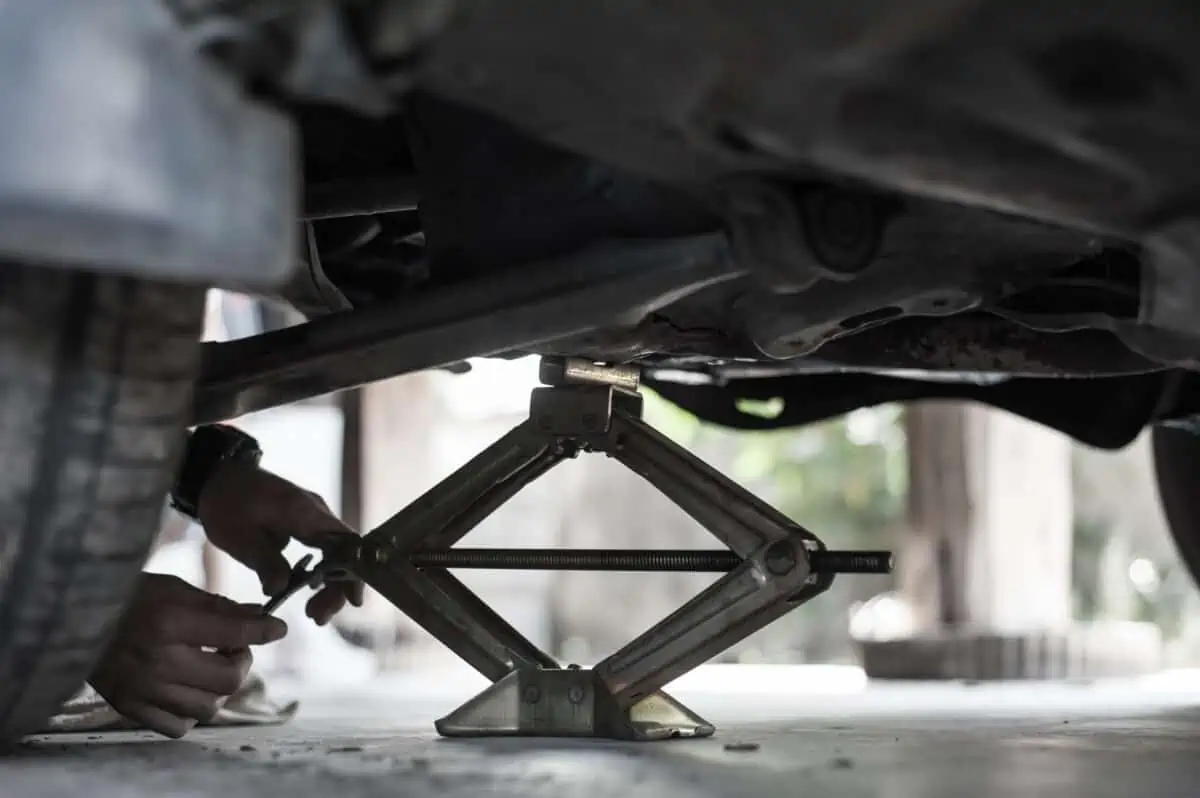
The scissor jack is one of the oldest and simplest types of all automotive jack. It’s a purely mechanical device with a minimum of moving parts and looks a lot like two pairs of scissors joined at the tips.
Because they are so simple and inexpensive, most new vehicles come with one included.
For more info you can check out our detailed guide to some of the best scissor jacks on the market.
How do Scissor Jacks Work?
As mentioned above, a scissor jack is so named because of the scissoring action of the component parts.
How does it work? In short, a long, threaded screw runs through the center of the jack lengthwise, joining the two halves. Where the two halves meet at the top you’ll find the saddle. This is the small pad that makes contact with the vehicle. At the bottom is a base for keeping the jack upright.
The screw is typically equipped with a loop at one end. Using a handle with a hook on one end the operator can turn the screw. Turning the screw clockwise opens up the opposing hinges, thus increasing the height of the jack. Counterclockwise rotation closes the hinges and decreases the height.
Scissor jacks are very light and fold down nearly flat. They are ideal for stowing away in a trunk for emergencies.
Are There Different Types of Scissor Jacks?
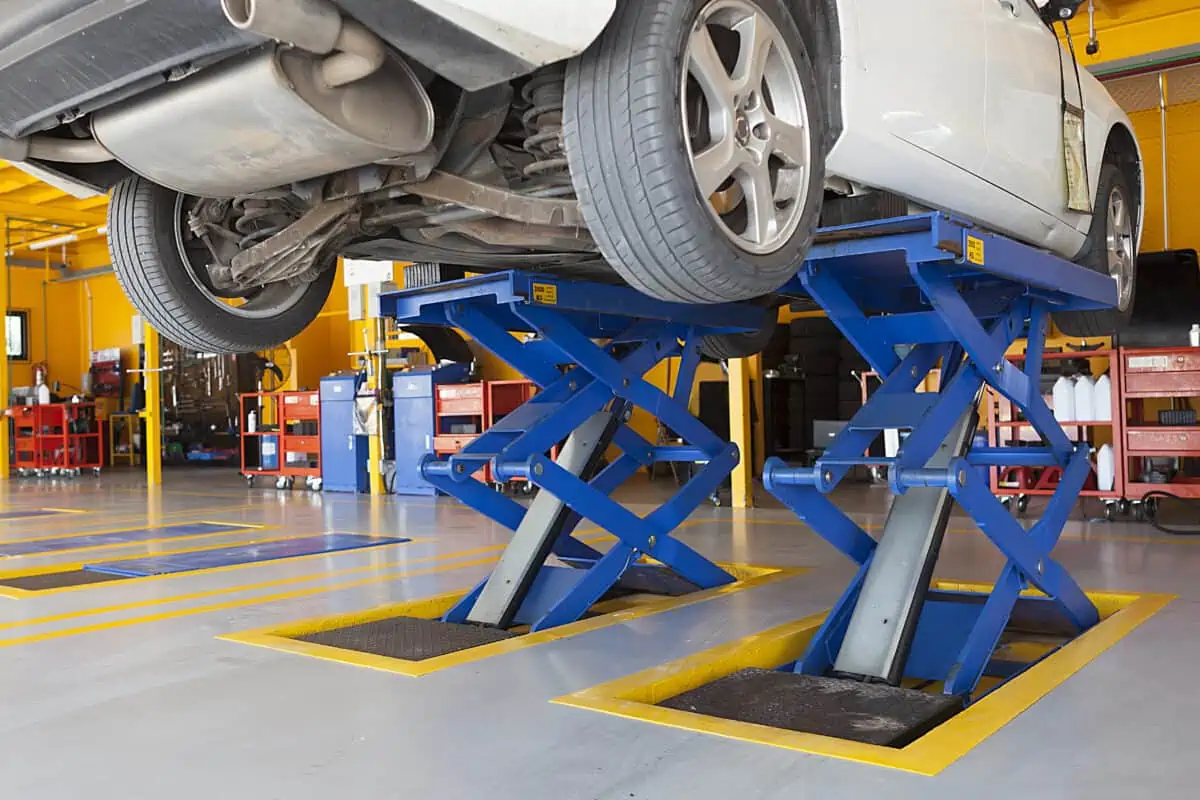
Although the principle is always the same, one could divide scissor jacks into three categories. They are as follows:
Automotive Scissor Jack
These are the standard scissor jacks frequently found in the backs of cars, or stowed with the spare tire. They are designed to sit flat and safely lift a vehicle (usually a smaller vehicle) for repairs and tire changes.
Electric Scissor Jack
It’s exactly the same as a manual scissor jack, except you can raise and lower it with the touch of a button. They’re perfect for anyone who may lack the physical capability to jack up a car by hand.
Stabilizing Scissor Jack
This type of scissor jack is meant for keeping trailers level. They’re usually sold in pairs or groupings of four, and they’re positioned at each corner. You can tell them from automotive scissor jacks by the saddle; on a stabilizing jack it’s wider and designed to be bolted or welded permanently to a trailer for convenience.
How to Safely Use a Scissor Jack
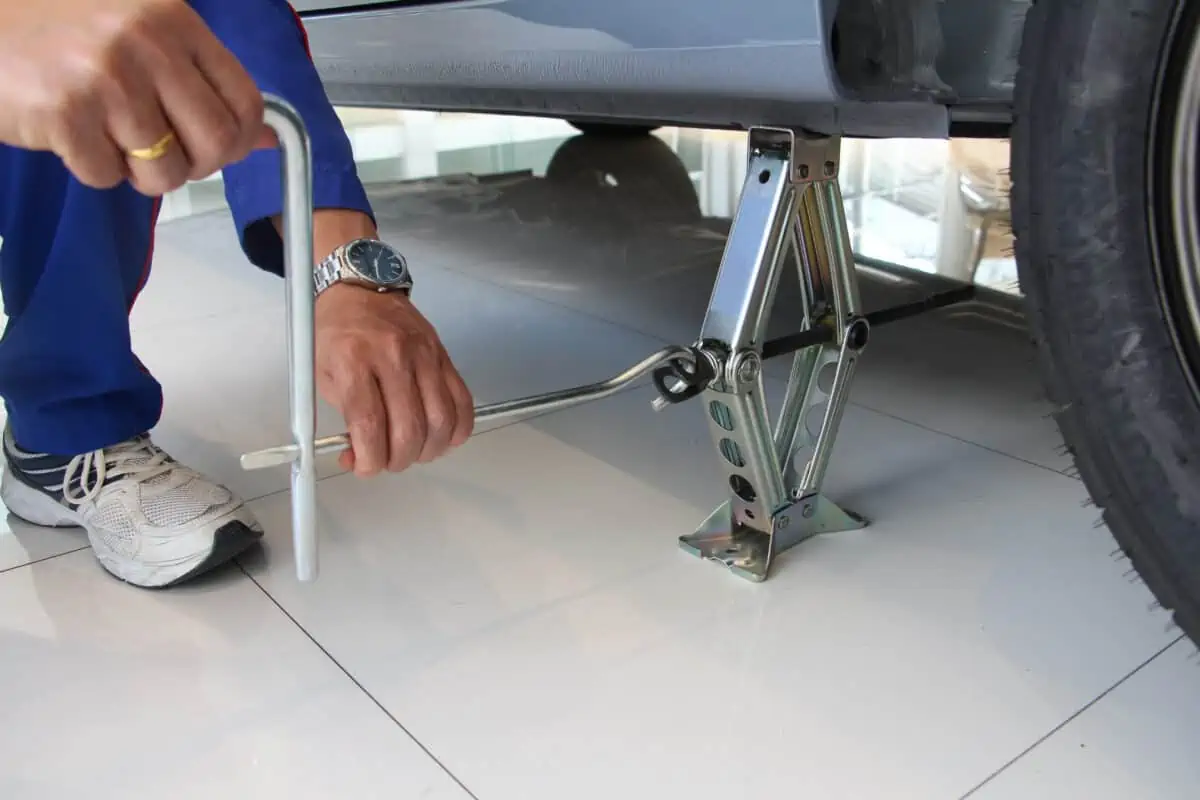
Just because it’s simple, that doesn’t mean it isn’t dangerous. An unplanned, uncontrolled drop can be extremely hazardous! But, if you use your scissor jack with caution and common sense, then you should have nothing to worry about.
Here are step-by-step instructions for the safe operation of a scissor jack.
- If you can, get your vehicle to a level spot before you begin. In the garage or a parking lot are both good For emergencies, try to get as far away from traffic as possible.
- Put on your parking brake to keep the vehicle from rolling back. Rollback is your worst enemy when a car is on a jack.
- If you have them, chock your tires opposite from where you’re using the scissor jack. That means the front tires for a rear lift and the back wheels for a front lift. You can’t have too many safeguards in place!
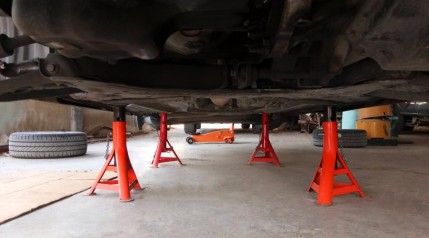
- Usually, scissor jacks are used for tire changes, most often when you’ve got a flat. However, if you’re going to be heading underneath your vehicle, you absolutely need to use jack stands. Jacks are just not meant to hold up a vehicle. Get out your jack stand or stands and inspect them to be sure they’re fit for use. You might also want the best mechanics creeper you can source, for comfort and safety while working.
- Before you use it, have a look at your scissor jack for damage or flaws. If you see any debris clinging to the screw or the saddle, wipe it off. If you have any doubts about the integrity of your jack, recycle it and buy a new one. It’s not worth the risk and they don’t cost a lot to replace.
- If you have a two-piece handle, assemble it securely and hook it into the loop.
- Try raising and lowering the jack a few times without a load to make sure it’s working smoothly. If it’s tight or jerky, give the screw a spray with some silicone lubricant to loosen it up.
- Locate the lift point under your vehicle closest to where you’ll be working. Don’t know where it is? No worries! Just take a look in the owner’s manual, and if you don’t have that you can probably find it online.It is essential only to jack up a vehicle at the lift points. They are built to take the extra load without cracking or bending. As you might imagine, those are both bad
- Before you place your jack, make sure you have enough area to work safely, and that it’s clear of debris, tools, or anything that might get in your way.
- Position the scissor jack as close to directly under the lift point as you can manage. Don’t worry about perfection right now; you’ll be able to fine-tune in the next step.
- Turn the handle clockwise to raise the saddle. Keep turning until the saddle is nearly, but not quite, in contact with the vehicle. Carefully adjust the jack until it’s positioned perfectly. Remember NEVER to put your fingers between the saddle and the vehicle. Continue turning until contact is made.
- Now that the saddle is touching the vehicle, you’ll find it become a little more difficult to turn the handle. Keep at it and, I promise, the vehicle will begin to lift off the ground. Pay close attention to the jack, making sure it stays firmly planted on the ground. If it starts to topple, back away immediately.Keep lifting the vehicle until it is high enough for you to do the work necessary. If you’re going to use jack stands, put them in position If not, you can skip to step 14.
- Slowly turn the handle counterclockwise to lower the jack. This will transfer the weight of the vehicle from the jack to the stands. Once you’re confident the jack stands are safely holding the vehicle, you can lower the jack far enough to remove it from under the vehicle.
- You can now work safely on your vehicle, but always stay mindful of the jack. When you’re finished, go back and redo steps 9 through 11 until you’ve taken the weight off the stand(s).No stands? Skip ahead to step 16.
- Move the stands from under the vehicle and put them well out of the way for
- Make one last check to ensure there isn’t anyone still working under or near the vehicle. (Or standing around watching you do all the work!) Also, move any tools or garbage out of the way to be sure it’s completely safe.
- You can now lower the vehicle to the ground. Slowly turn the handle counterclockwise until the tire is back on the ground and the weight is off the jack. No matter how much of a rush you’re in, this must be done slowly to be safe.Fold your jack down flat, put it away, and you’re done!
Conclusion
We sincerely hope you found this guide useful. If you’re new to scissor jacks, or any kind of jack, it may seem intimidating to lift a heavy vehicle off the ground. If you know how to do it correctly, however, there’s no reason to approach it with fear.
Knowing how to perform small emergency repairs like a tire change will give you new confidence as a driver, so learning how to use a scissor jack correctly is important.
If the info in this article, or anywhere else on the site, would be of use to someone you know, please share! We encourage the free distribution of links across social media and email. We also welcome your comments and questions and will do our best to respond to anything you send our way.
Readers like you make this site possible, so we really appreciate you for taking the time to stop by today. Thanks for reading and happy motoring!

