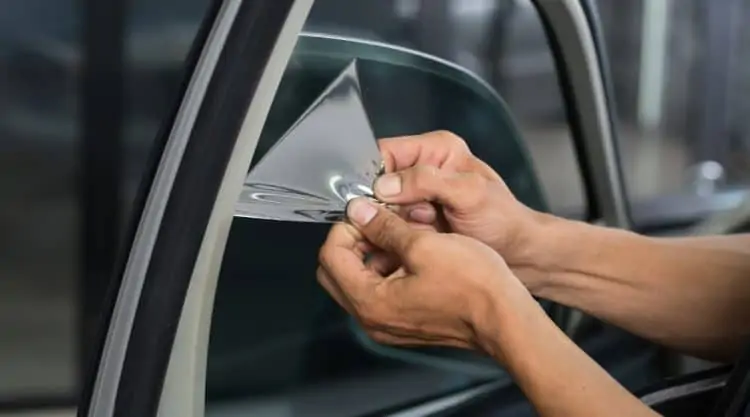
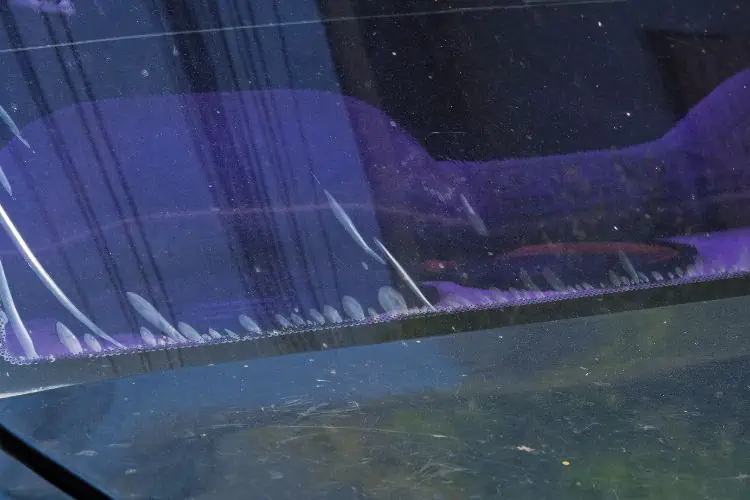
When your car window tints start turning purple or you see bubbles under the film, it’s time to have them removed and replaced.
In this article, we’ll go over some methods you can use to completely remove your car window tint and leave your windows tint and glue-free.
Why would you take the trouble of doing it yourself, you might ask? Well, to sum it up: MONEY. Pricing varies, but pros charge around $25-$35 per window, while quality tint removal services for your windows can cost you as much as $400.
But don’t worry just yet. Once you’ve finished reading, you’ll know when and how you can remove your old window tints using everyday tools and materials found in your own house.
Now, let’s get started!
Contents (Jump to Topic)
Key Takeaways
Safety first! – Aged tinted windows aren’t just ugly, but could also reduce visibility. When they need changed, change them.
Tools of the trade – You can remove your tint with soap and newspaper, ammonia and trash bags, a hairdryer, heat guns, or even a fabric steamer.
Go slow – Take your time to peel off the adhesive. This way, it’s more likely to come off in one piece, which will save you a lot of time.
How To Remove Window Tint – 6 DIY Methods
Unless your tinted windows have a factory tint dye, the tint film is glued to the windows using some adhesive. Even if you can peel it off with your own hands, this wouldn’t get rid of the adhesive on your windows. So, at worst, you’d have a sticky mess over them instead of the purple/bubbly tint.
To avoid this, you can choose from several methods to effectively remove tint from your windows.
Which one is right for you will depend on many factors, such as climate conditions, how soon you plan to use your car again, or what tools and materials you have at hand.
Method 1: Soap and Scrape
This window tint removal method is a good option if the area you’re cleaning is small. Besides being quick and easy to apply, you probably have all the tools you need at home.
The only downside of this method is you’ll get tired quickly unless you have forearms like Popeye!
Materials and tools you’ll need
- Soapy water
- Glass cleaner
- Paper towels
- Razor blade or knife
- Spray bottle
- Lots of water
Step-by-step guide
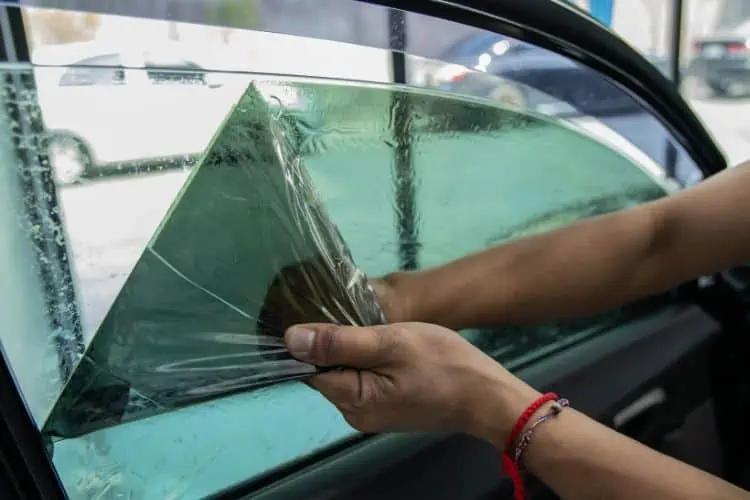
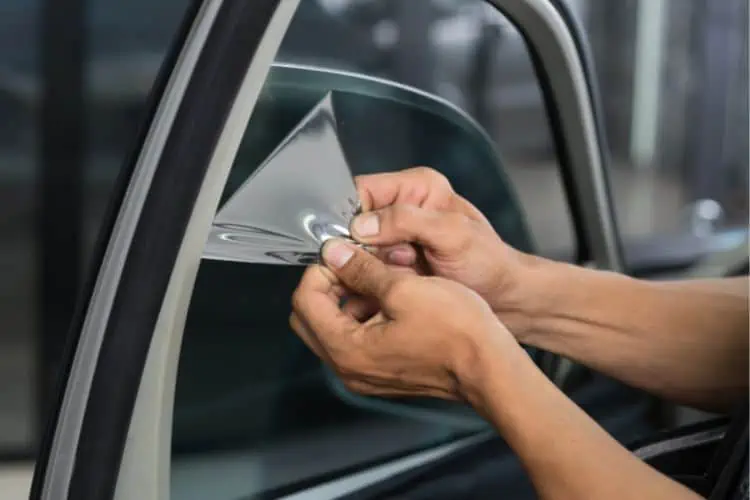
Step 1: Use your fingernails or a sharp knife to lift a corner. Scrape softly around the edges of the corner as you slowly lift the tint and pull it down.
Step 2: Separate a good amount of film from the glass before you grasp it firmly and start peeling it down. Be careful, but don’t worry if it breaks or tears. Just repeat the process and try to peel it off in a single piece. Keep repeating this step until all the tint has come off.
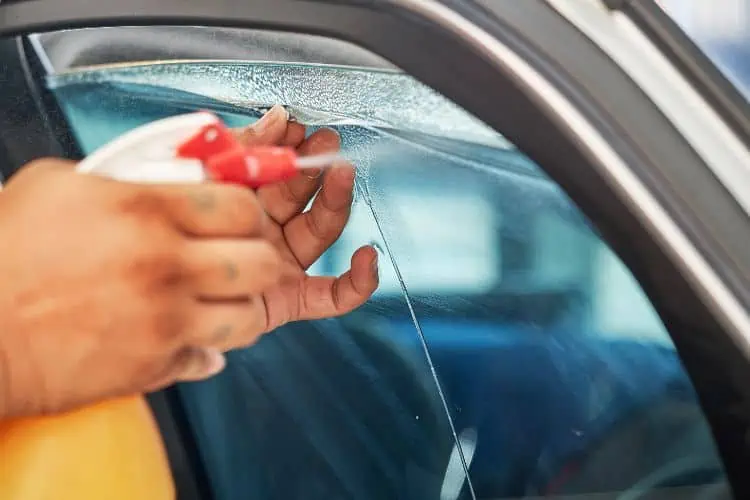
Step 3: Use a mild detergent or dish soap and water to create a soapy mix. Fill your spray bottle with it and spray it generously over the glass. This will help you remove window tint glue left after you peeled off the window tint film.
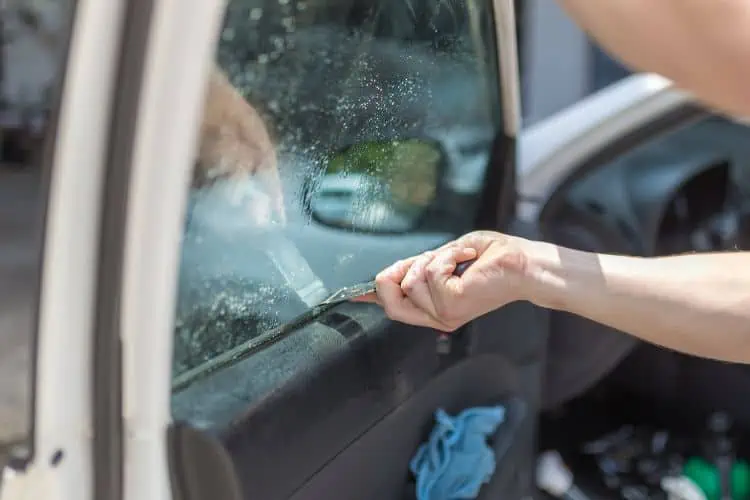
Step 4: Use your razor or knife to scrape off the glue. Try to grab it using a piece of cloth so you have a better grip and avoid cutting yourself. If you don’t want to use a razor, try a little nail polish remover.
Step 5: Keep the glass moist using your soapy mix to avoid scratching the glass and make your job easier.
Step 6: Clean your windows with glass cleaner and wipe it off with paper towels.
Method 2: Soap and Newspaper
This method takes a bit more time than others but is a good way to make the tint come off easily.
Materials and tools you’ll need
- Detergent or dish soap
- Old newspapers
- Razor blade
- Sponge
- Bucket
- Water
Step-by-step guide
Step 1: Grab your bucket and mix water and soap in it. Stir it up vigorously to create plenty of foam and use your sponge to spread it over the glass. Cover the area with newspaper as soon as you finish.
Step 2: Leave the newspaper soaking for about an hour. Use your sponge to apply soap to the newspaper every 20 minutes to keep the tint moist.
Step 3: Take the razor and scrape along the edges of the film using long strokes. It should come off easily.
Step 4: If the tint still doesn’t come off you’ll need to repeat the process until the remaining adhesive gives way. Repeat the process by soaking the window, covering with newspaper, and waiting another half hour.
Step 5: Peel off the tint and scrape whatever adhesive remains.
Step 6: Apply a window cleaner and then dry it off with a clean cloth or towel.
Method 3: Ammonia, Trash Bags, and Sun
This method uses ammonia and a sunny day to remove the glue from your car windows in no time. Ammonia leaves a beautiful shine in your windows, but be careful when working with this chemical and always wear a mask to avoid inhaling the toxic fumes it emits.
Materials and tools you’ll need
- Undiluted Ammonia
- Black garbage bags
- Spray bottle
- Soapy water
- Face mask
- Razor blade
- Cloth or tarp to cover your upholstery
- Very fine steel wool
- Glass cleaner
- Scissors
- Soft cloth
- A hot, sunny day
Step-by-step guide
Step 1: Park your car outside and make sure the sun is shining directly over the windows you’ll be working on.
Step 2: Use your scissors to cut your black trash bags in the form of your window. Moisten your windows with soapy water and then cover it with one of your trash bags.
Step 3: Use the razor to cut any excess plastic and make sure there are no air pockets between the bag and the glass. This will trap all the heat between the plastic bag and the window, making it easier to remove the film.
Step 4: Now you’ll work from inside of the window. Make sure you cover all the interior surfaces with a cloth or tarp to avoid damaging your upholstery. Put your mask on and spray the undiluted ammonia over the inner side of th glass.
Step 5: Make sure the inner window is completely wet with ammonia before you cover it with the other plastic bag. Leave the door open so the ammonia and heat can soften the glue.
Step 6: Wait an hour before you take off the trash bags and start peeling off the film. Use your razor to lift one corner of the film without damaging the defroster lines and try to take it off in one go. Keep the glass moist with ammonia to stop the glue from getting hard again.
Step 7: Remove any adhesive left using super-fine steel wool and ammonia, then dry off the window using paper towels.
Step 8: Finish by using glass cleaner to give the glass a good shine.
Method 4: Hair Dryer
Using a hairdryer is another simple way to get rid of your old window tint. The heat produced by the dryer is just what you need to soften the adhesive and make it easy for you to peel off the tint.
This method can be messy, so be ready to do a lot of cleaning after.
Materials and tools you’ll need
- Hair dryer
- Adhesive remover
- Spray bottle
- Cloth
- Razor blade
- Windex or another hard-surface cleaner
- Latex gloves
Step-by-step guide
Step 1: Set your hair dryer to hot and aim it at the inner side of your window. Start by loosening the upper corner, making sure you’re not burning the tint. Holding the dryer 2 inches away from the glass. Do this for 30 seconds before you try peeling the tint with a razor.
Step 2: Once the tint is hot enough, try to peel it off in one go if possible. If it won’t come off, keep it warm with the hairdryer and peel it off in sections.
Step 3: Pour adhesive remover in the spray bottle and use it to cover the whole window. Leave it sitting for 10 minutes before you remove it.
Step 4: Take the razor and carefully scrape away any glue residue or remaining tint on the glass. Clean the glass with Windex and use a towel to dry it off.
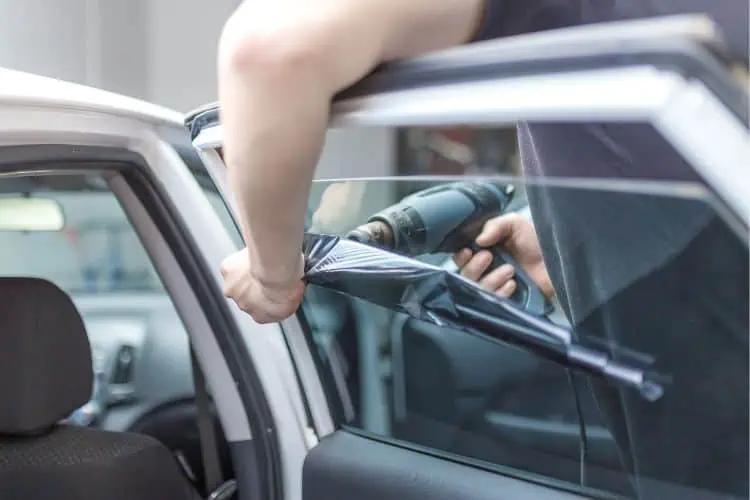
Method 5: Heat Gun
A heat gun is a great option if the weather is too chilly to use another method. These tools produce a lot of heat, which makes it easy to remove window film quickly.
Materials and tools you’ll need
- A heat gun
- Steel wool pads
- Adhesive remover
- Cotton Rags
- Razor blades
- Razor casing handle
- Window cleaner
- Paper towels
Step-by-step guide
Step 1: Point your heat gun on the outer side of the window, keeping it 4-6 inches from the glass. Don’t use the heat gun from the inside as this will melt the tint and make it merge with the glass.
Step 2: When the glass is warm enough, start peeling off a corner of the tint from inside. Take your time and try to take the whole tint in one piece if you can. Alternate between heating the glass and pulling the tint so the adhesive doesn’t have time to settle back.
Step 3: Use the razor to remove any small pieces of tint.
Step 4: Cover the window with liquid adhesive remover and let it sit on the glass for 10-12 minutes before you take it off.
Step 5: Use the razor to scrape off the adhesive. Keep scraping and wiping the loose adhesive and remover until the whole window is clean.
Step 6: If the window frame still has glue left, keep applying remover and scraping it until it’s completely clean.
Step 7: Finish with a bit of vehicle window cleaner and then rub it with paper towels to wash off any residue.
Method 6: Steamer
Using a good car steam cleaner will save you a ton of time and trouble.
Unlike other heating methods, steamers can soften the adhesive on window films without risking burning the tint.
Steamers produce less heat than a heat gun but can distribute it across the entire window more efficiently.
Materials and tools you’ll need
- Adhesive remover
- Steamer
- Water
- Paper towels or a clean cloth
Step-by-step guide
Step 1: Fill the steamer with water and let it warm up until you see it steaming.
Step 2: Heat the corner of your window, keep the steamer’s attachment one inch from the glass. Keep aiming it at the corner area for about a minute or until you feel the tint loosening from the corner.
Step 3: Use one hand to hold the tint and slowly pull it down while you keep aiming the steamer with the other.
Step 4: After removing all of the tint, clean the glass using a clean piece of cloth or paper towels. Then apply adhesive remover all over the glass and let it sit for a few minutes. Wipe it off with paper towels.

What Are Some Other Tips I Can Use?
Removing window tint isn’t rocket science. With a bit of free time and effort you can do it too. However, there are some tips you can follow to save time and avoid having to do the same work twice.
- Go slow. Tint is professionally glued to your windows. If you try to rip it off too hard with one stroke, you’ll only end up tearing it into little pieces, which will make your job much harder.
- Be careful with the defroster and antenna lines. Some people damage their defroster or antenna lines when working on the rear windows with a razor. To be safe, use duct tape to lift the tint instead of a razor.
- Try to use a steamer. Steamers are inexpensive, will save you a bunch of time, and let you complete the job without a razor.
When Should I Remove My Window Tint?
The life of tint film varies according to many factors, but the quality is one of the most important ones.
Cheap tints start showing signs of wear only a few months after installation, especially if you live in a hot or humid area.
Under normal conditions, quality tint film will last around two years. Other types, like Hybrid films, can last five years or more. Sputtered or deposited window film can last up to 10 years, and sometimes even longer.
The easiest way to know when to change your window tinting is to see if it’s turning purple or creating bubbles under the film.
Can I Remove My Window Tint by Myself?
Yes! Removing tints is much easier than installing them. Plus, doing it on your own will save you a lot of money you can put to better use elsewhere — particularly if you plan to install a new one.
Unless your tints came with a warranty, you’d probably need to pay some serious money for a professional removal if you don’t want to do it yourself.
Wrapping It Up
Removing your tints by yourself will allow you to save a lot of money – money that you can use on new tints back on or any of the other hundred things you’d like to do to your vehicle. We hope our guide has convinced you and you’re well on your way to restoring your car windows’ shine and clarity! For more help with that, check out our guide on cleaning car windows.