If you’re a typical car washer, one that sticks to the basic water and dish soap, then you may never have thought about car wax before.
Out of all the many available car detailing products you can find, wax is one of the most necessary. It protects your car paint, enhances the look of your vehicle, and keeps your car clean a whole lot easier in the long run.
However, if you want to reap all the benefits, you have to make sure the wax on your car isn’t aged and degraded beyond usefulness, and you apply fresh wax on a regular basis.
Before applying new wax you need to strip off the old, and that’s what we’re discussing today. In this article, we’re going to take you through two great wax removal methods, how often you should re-wax, and also the reasons you should be removing it in the first place.
Contents (Jump to Topic)
Remove Car Wax Using a Pre-Wax Cleaner
Pre-wax cleaners are products used to prepare the surface of the car, ready for a new layer of wax.
The effects of a pre-wax cleaner to strip wax can range from just preparing the surface by cleaning it, to filling swirls, as well as leaving an oily residue.
After you’ve thoroughly washed the car, it might not be ready for wax application just yet. Because for the wax to be able to bond properly with the paint, it needs an immaculately clean surface. That’s when the pre-wax cleaner comes into the picture.
What You’ll Need
- Water supply and a bucket
- Non-drying soap.
- Soft cotton towels or a microfiber cloth.
- Pre-wax cleaner.
- Soft terry cloths.
- All-purpose cleaner.
Step-by-Step Guide
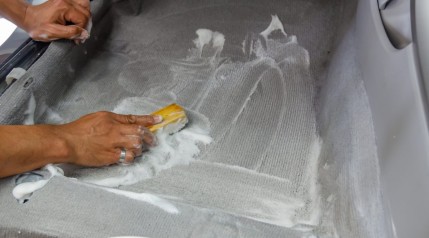
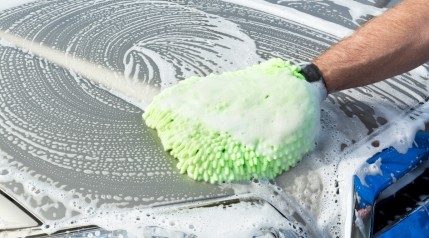
Step 1: Start With a Wash
Start out by thoroughly washing your vehicle with a non-drying soap and some water, to remove any of the surface dirt.
When you do this, all chemicals found in the pre-wax cleaner will easily get right to the existing wax layer of the car. Otherwise, they will have to try eating through all of the layers of dirt and grime first.
Step 2: Dry Everything
Next, you’ll need to dry your vehicle thoroughly with a cotton towel. Another option is to wait for it to air dry.
Step 3: Choose the Cleaner
Then, choose whether you’d like to use a spray-on pre-wax cleaner or a non-abrasive polish.
With the first option, you’re only going to remove the top layer of your wax job. It’s not going to be doing a deep clean, so many of the pollutants just under the surface are still going to be there. However, this is a great choice if you plan on getting rid of any of the old wax, but are also applying new layers frequently.
With the second option, you’ll be getting a more thorough cleaning. These are generally used when you’re not removing wax very often, and they’re able to clean any other dirt and contaminants that have settled under the top surface of the vehicle paint. The wax-removing properties are a secondary effect.
Step 4: Apply the Chosen Cleaner
Next, you’ll need to apply the cleaner directly to the surface of your vehicle, and do it liberally.
However, make sure that you’re only getting cleaner on the actual paint and none on the rubber trim. If you do get any on the plastic or rubber trim, the surface will likely become discolored.
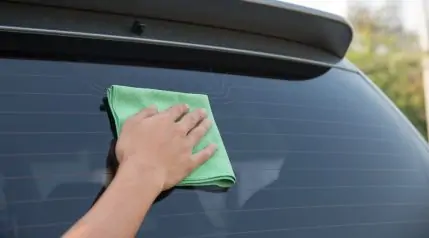
Step 5: Wipe Everything
Get a soft terry towel and wipe the entire surface of your vehicle. The plan here is to wipe away all of the wax-remover.
Make sure you’re doing this from one side to the other, as well as going from the top of the vehicle to the bottom, covering the entire vehicle. Use even and long strokes here for maximum effect.
Step 6: Repeat (If Necessary)
If there’s any leftover wax, you can always apply the cleaner it again.
Try not to do this too much, though. Otherwise, you’ll end up causing damage to the paint since it’s unprotected at this stage.
Step 7: Clean Up
Use an all-purpose cleaner on a clean terry cloth and clean the trim. You’ll need to do this because the rubber and plastic surfaces can end up discolored when you’re using wax removers.
Using a mild, all-purpose car cleaner is a great choice here.
Step 8: Remove the Old Wax
Finally, apply light and even pressure on the entire trim, so that you remove any and all old wax left behind on the surface.
Remove Car Wax Using a Clay Bar
A detailing clay bar is like plasticine, with a putty-like consistency. It picks up any of the surface contaminants on the vehicle, without damaging the paint. You can also use your clay bat to remove wax from plastic trim.
This is an advanced detailing treatment, so you don’t need to be using it too often. The clay bar works by removing any pollutants from the surface, by “shaving” them off.
What You’ll Need
- Water supply and a bucket.
- Car wash soap
- Some sponges.
- Clay lubricant.
- Clay bar.
- Microfiber towels.
Step-by-Step Guide
Step 1: Wash Your Car
Start off by removing any of the surface dirt and grime by giving your vehicle a thorough wash.
This way, the amount of dirt that the clay bar will be picking up later is reduced, which also allows the clay bar to remove as much wax as possible from the surface.
Step 2: Let it Dry
Let your car dry thoroughly before you attempt to use the clay bar on it. Give it a good going over with a towel to ensure it’s bone dry.
Step 3: Use the Lubricant
Spray the clay lubricant on a small section of your vehicle that you intend to work on first. If your clay bar came with a clay lubricant, good, if not, you’ll need to get one separately.
The lubricant will create a very smooth surface so that the clay bar can easily pass over it. It also makes the car smooth, so that when using the clay, there aren’t any pieces left behind.
Make sure you’re using the clay bar on the lubricated areas only.
When you’re applying the lubricant and the clay, make sure you’re only working with a small area at a time. This way, you’ll be able to focus on each of the areas thoroughly and correctly remove any old wax, and all before any added lubricant dries.
Step 4: Use Pressure
Start wiping the clay bar from top to bottom, or from one side to the other, applying it with gentle pressure. The bar is going to oppose at first, but this is entirely normal, as long as it’s not leaving behind pieces of clay.
When the bar is easily sliding along the surface of your entire car, you know that all of the wax has been completely removed.
Continue to use the same clay bar until it stops being as effective, folding and up the bar after a couple of passes over your car surface, to reveal clean sections of the bar each time.
Step 5: Clean Up
If there are pieces of clay that have stuck on the paint from the previous step, you can just use some clay lubricant to clear the pieces away.
You can remove any of the excess lubricant as well as clay from your vehicle with a microfiber towel.
Step 6: Check to See if You’re Done
Try rubbing the paint of your vehicle lightly with your fingers.
If everything feels completely smooth, you’ve completed the job! If it doesn’t, you should redo the process to remove remaining wax residue, but focus on the areas that are still rough to the touch.
When and Why Might You Want to Remove All Your Car’s Wax?
To check if it’s time to get a new layer of wax, look to see whether the paint has started looking a bit dull, or if you brush your hand over the paint if it doesn’t feel smooth to the touch anymore.
Also, generally speaking, you should be removing old wax and applying a fresh wax coat around every three months. That is unless you’re regularly using your vehicle in more extreme weather conditions.
You will also need to remove wax, as well as other protective coatings (like ceramic coating) on your car’s surface, whenever you need to paint over any repairs. Once you’ve painted over the repairs, you then apply clear coat and new carnauba wax to make your car’s paint look beautiful and glossy once again.
As for when you should apply wax, it should always be the very last thing you do during your washing or detailing regimen. That’s because using wax means that you’re going to ‘seal’ everything nicely and protect all of that hard work you just did.
If you’re wondering why you might need wax in the first place, it’s because it adds a film of protection for your vehicle. You’re adding a strong barrier between the clear coat and the outside world. This protects the paint from various contaminants in the air, water damage, and to damage from UV rays.
The damage that water can cause is important to focus on.
Road spray and rainwater contain different pollutants that can easily transfer to the paint itself. The best way to protect from this is to make sure any water runs straight off your car. Wax does this, as it makes the surface hydrophobic.
Additionally, if any pollutants have a harder time reaching the paint, it means your car doesn’t need to be washed so often. However, if you’re still washing your car reasonably often, having this protective layer over everything means you can use less intense products.
How to Remove Car Wax: Final Thoughts
You now know how to remove wax from your car. Whether you end up using a pre-wax cleaner or a clay bar is completely up to you.
Remember to clean your vehicle thoroughly before you embark on the process, this will enable the entire process to go as smoothly as possible.
If you have any questions about removing car wax or tips of your own that you’d like to share with other car owners, please leave them in the comments section below.